DIY Guide: Building the Ultimate Under-Desk Computer Stand
Table of Contents
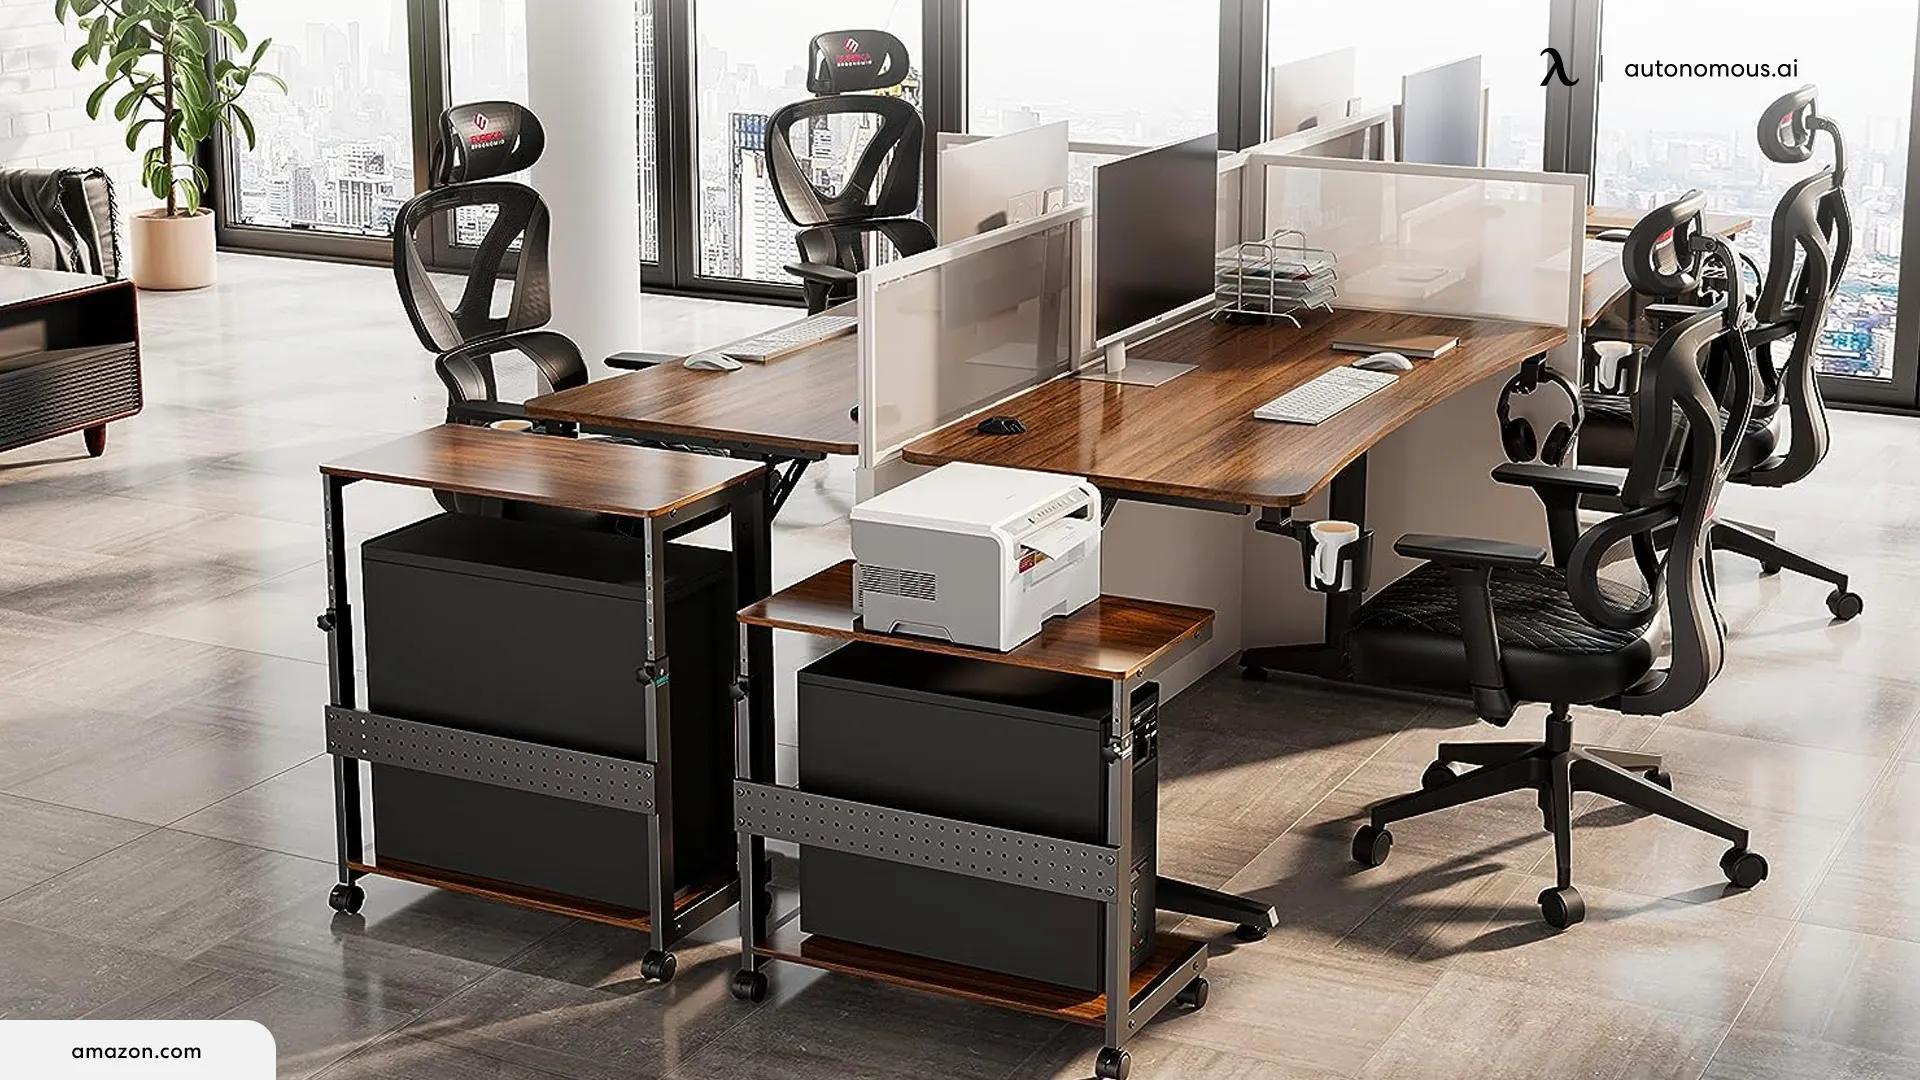
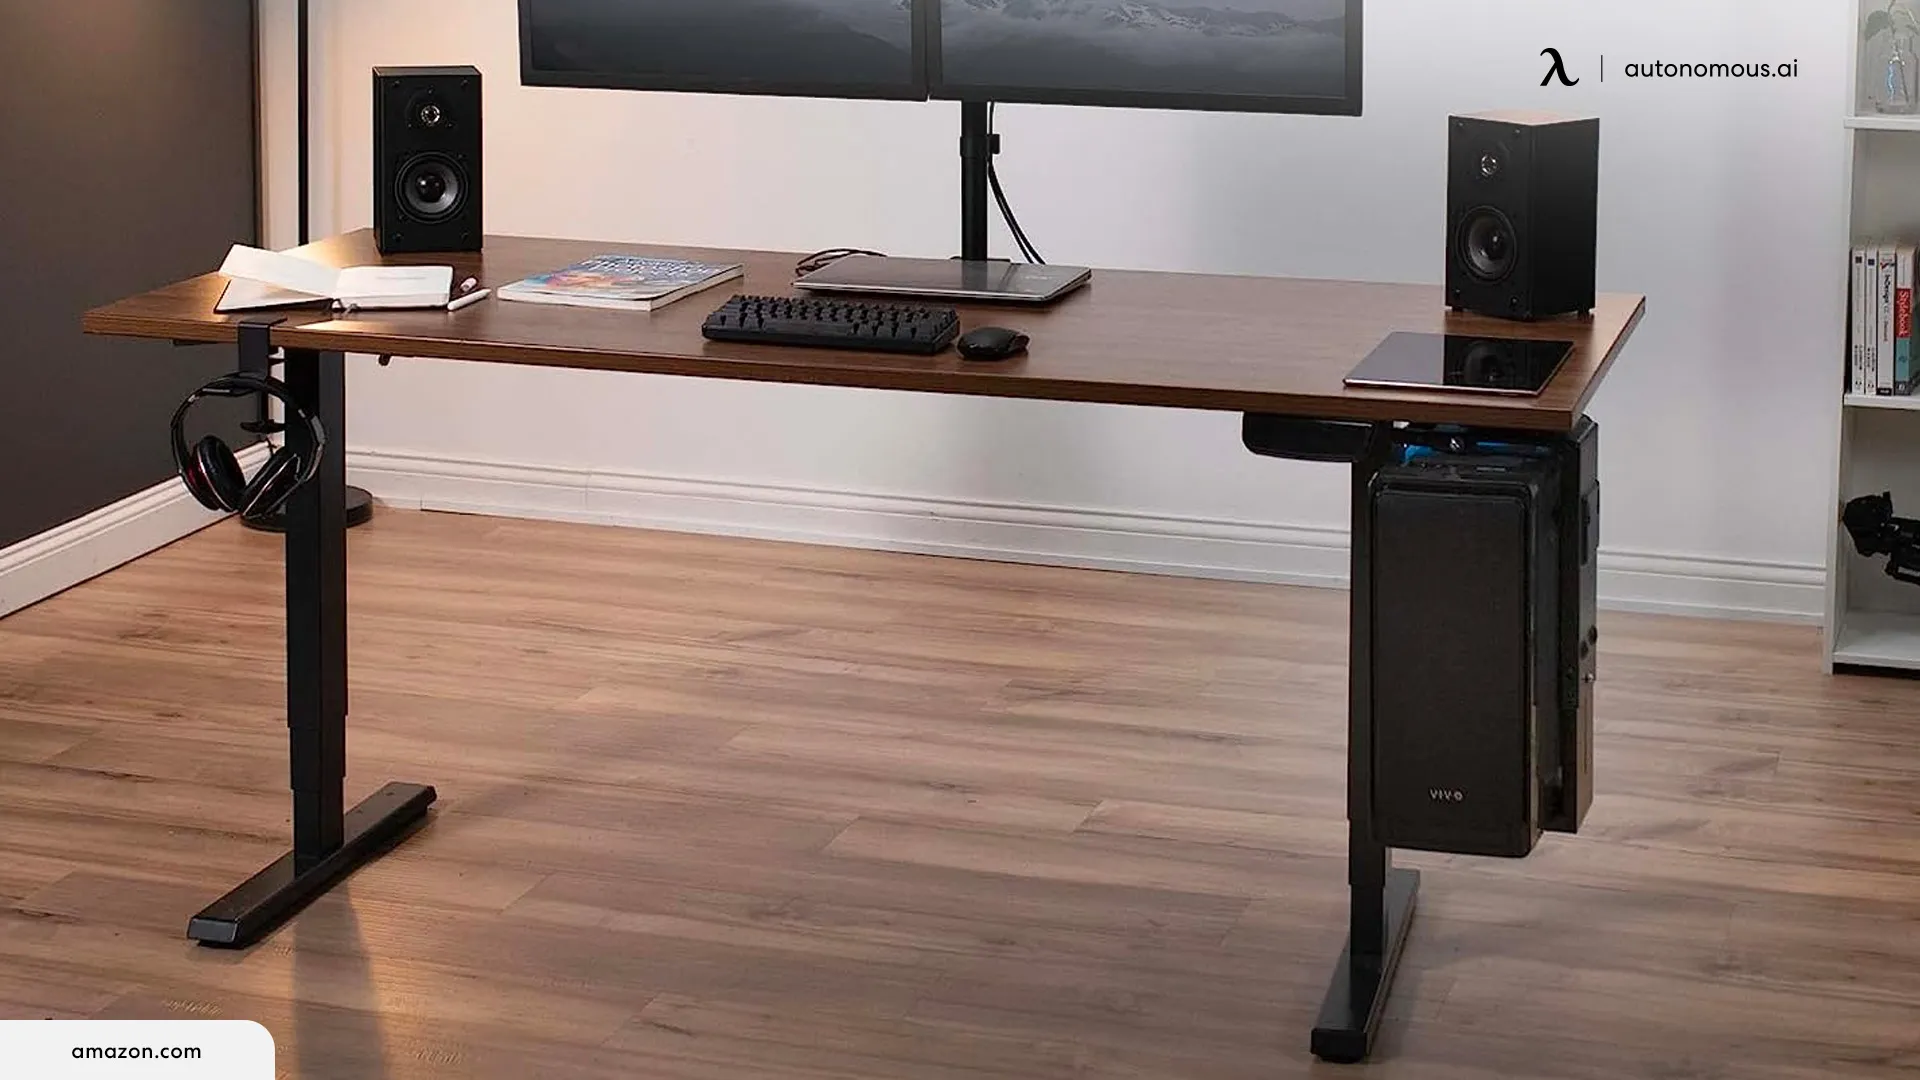
In the modern era of compact workspaces and minimalist design, finding effective solutions to maximize your desk space is paramount. One such solution gaining popularity is the PC stand for under desk or computer tower stand under desk. These ingenious creations offer a clever and space-efficient method to tuck away your computer tower, freeing up valuable surface space while enhancing both the organization and aesthetics of your work-from-home setup.
In this article, we will guide you on diy your under-desk PC stands, exploring essentials and the considerations you need to keep in mind.
How to Make a Computer Stand for Under Desk Space?
Step 1: Gather Your Materials
Before you begin, make sure you have all the necessary materials ready. You'll need:
- Wood or Plywood: Choose a sturdy piece of wood or plywood measuring approximately 24 x 12 inches. It should be thick enough to support your computer and peripherals.
- L-shaped Brackets: Four 2-inch L-shaped brackets will attach the stand to the desk.
- Screws: You'll need screws to secure the brackets to the wood.
- Power Drill: A power drill is essential for drilling pilot holes and driving screws.
- Saw: Use a saw to cut the wood to your desired dimensions.
- Measuring Tape: Accurate measurements are crucial for a snug fit.
- Sandpaper: The sandpaper will help smooth the edges and surface of the wood, ensuring a finished look.
- Pencil: Use a pencil to mark measurements and hole locations.

Step 2: Measure and Mark
Start by measuring the space under your desk where you intend to install the computer stand. Carefully mark the exact placement for your stand using a pencil. Ensure it's at a comfortable height for your computer and peripherals, considering factors like keyboard and monitor placement.
Step 3: Cut the Wood
Carefully cut the wood to your desired dimensions using a saw, typically around 24 x 12 inches. Be precise in your cuts to ensure a clean and even surface. After cutting, use sandpaper to smooth the edges and surface of the wood, removing any rough spots.

Step 4: Attach Brackets
Position the L-shaped brackets on the underside of the wood, placing one at each corner. Make sure they are flush with the edges and evenly spaced. Use your pencil to mark the screw hole locations on the wood and brackets. These marks will serve as guides for drilling pilot holes.
Step 5: Secure Brackets
With the pilot holes marked, carefully use your power drill to drill holes at these points. Ensure the holes are slightly smaller than the screws you'll be using. Once the holes are drilled, attach the brackets to the wood using screws and the power drill. Ensure the brackets are securely fastened to provide stability and support for your computer stand.
Step 6: Hang Computer under Desk
Place your newly created computer stand under your desk in the designated spot. Ensure it's level and sits at the desired height. Make adjustments to the brackets or stand positioning to achieve the perfect fit. This step ensures that your DIY computer stand is functional and ergonomic for your workspace.

Step 7: Paint or Finish (Optional)
Consider painting or finishing your computer stand if you want to give it a polished look. Sand the entire surface to remove any imperfections or rough spots. Choose a paint or finish that complements your desk or room decor. Apply it evenly and allow it to dry completely before moving on to the next step.
Step 8: Set up Your Computer
Once your computer stand is securely in place and any paint or finish has dried, it's time to set up your computer and peripherals. Carefully position your computer monitor, keyboard, mouse, and other computer accessories on the stand. Ensure that everything is stable and at a comfortable height for your work or gaming needs.
Factors to Consider while Mounting Your Computer under Desk
Mounting your computer under your desk can be a space-saving and aesthetically pleasing solution, but it's essential to consider several factors to ensure a successful installation. Here are five factors to keep in mind:
1. Desk Material and Strength
Consider the material and structural strength of your desk. The desk should be robust enough to support the weight of your computer and any additional peripherals you plan to mount underneath. Solid wood or metal desks are typically suitable, while particleboard or lightweight desks may not offer sufficient support.

2. Space and Accessibility
Evaluate the available space to put the computer stand for under your desk. Ensure that there is enough clearance to accommodate your computer case comfortably. Measure the dimensions of your computer and any peripherals you intend to mount to confirm that they will fit without overcrowding.
Additionally, consider the accessibility of ports, cables, and components for maintenance and upgrades.
3. Ventilation and Cooling
Proper ventilation is crucial to prevent overheating. Best gaming setups ensure adequate airflow around your computer case when mounted under the desk. Some cases have built-in fans and ventilation holes, so check if your case supports effective cooling in a confined space. Consider using a CPU or case fans to help dissipate heat efficiently.
4. Cable Management
Effective cable management is essential to maintain a clean and organized workspace. Plan how to route and secure cables to prevent clutter and tangling of your gaming setup accessories. Cable clips, Velcro straps, or cable sleeves can help keep your cables neat. Consider using cable trays or raceways to hide cables and prevent them from hanging down visibly.
5. Ergonomics and Comfort
Think about the ergonomics of your gaming computer setup. Ensure that your monitor, keyboard, and mouse are at comfortable heights and angles to prevent strain and discomfort during prolonged computer use. Adjust the height of your chair and monitor accordingly to maintain proper posture. You may need an adjustable monitor arm or keyboard tray to achieve the ideal ergonomic setup.

Conclusion
The ability to hang your computer under your desk liberates valuable surface space and contributes to a cleaner, more organized, and ergonomic environment.
In the realm of DIY computer desks, the possibilities are endless. You can craft a personalized workspace tailored to your unique needs and preferences with creativity and a few tools. Integrating a PC stand under your desk is just one step towards achieving the perfect balance of form and function in your workspace.
Get exclusive rewards
for your first Autonomous blog subscription.
Spread the word
You May Also Like


-7512dd9e-3510-42ed-92df-b8d735ea14ce.svg)


