How to Hide Laptop on Desk - Under-Desk Laptop Mount Solutions
Table of Contents
Laptops are essential tools for work and play, but they can often take up valuable desk space and disrupt the aesthetic of your workspace. A clean and organized desk can do wonders for productivity and mental clarity, so learning how to hide your laptop on your desk is an excellent step toward achieving a minimalist, distraction-free setup.
Whether you're considering a DIY under-desk laptop mount, investing in the best under-desk laptop holder, or exploring other innovative solutions, this guide will provide you with actionable tips to keep your workspace tidy and efficient. Let’s dive into practical ways to keep your laptop out of sight without sacrificing accessibility or functionality.
Why Hide Your Laptop on Your Desk?
Keeping your laptop hidden is not just about aesthetics—it’s about optimizing your workspace for better focus and productivity. Here are some key reasons why hiding your laptop is a game-changer:
- Declutter Your Desk
A cluttered workspace can be distracting and reduce your efficiency. By hiding your laptop, you free up valuable desk space, creating a cleaner environment that fosters concentration. This is especially important for setups like an engineer desk decor, where a tidy layout is essential for technical tasks and brainstorming.
- Protect Your Laptop from Damage
Leaving your laptop out in the open can expose it to risks like accidental spills, scratches, or falls. Concealing it in an under-desk mount or drawer adds a layer of protection while keeping it within reach when needed. This is especially useful for individuals with dual or large desk setups, where multiple devices and accessories can crowd the workspace.
- Maximize Desk Functionality
Hiding your laptop allows you to better utilize your desk space for other essentials, like a docking station, monitor, or keyboard. It pairs particularly well with monitor arms for thick desks, ensuring your screen setup remains ergonomic and clutter-free.
- Improve Aesthetics and Workspace Versatility
A hidden laptop contributes to a minimalist, professional-looking desk setup, which is especially important for home offices or shared workspaces. Whether you’re designing a compact pocket office or a spacious workstation, keeping your laptop concealed adds to the overall aesthetic appeal while making your setup feel more intentional.
- Enhance Creative Workflows
A clean and organized desk setup is particularly important for those in creative fields, such as graphic design or video production. Hiding your laptop allows more space for tools, sketchpads, and creative gear, aligning with the principles of desks for graphic designers. This ensures a more productive and inspiring workspace.

Creative Solutions for Hiding a Laptop on Your Desk
When it comes to concealing your laptop, there’s no one-size-fits-all solution. Here are a variety of methods to fit different desk styles and workspace needs:
1. Use an Under-Desk Laptop Holder
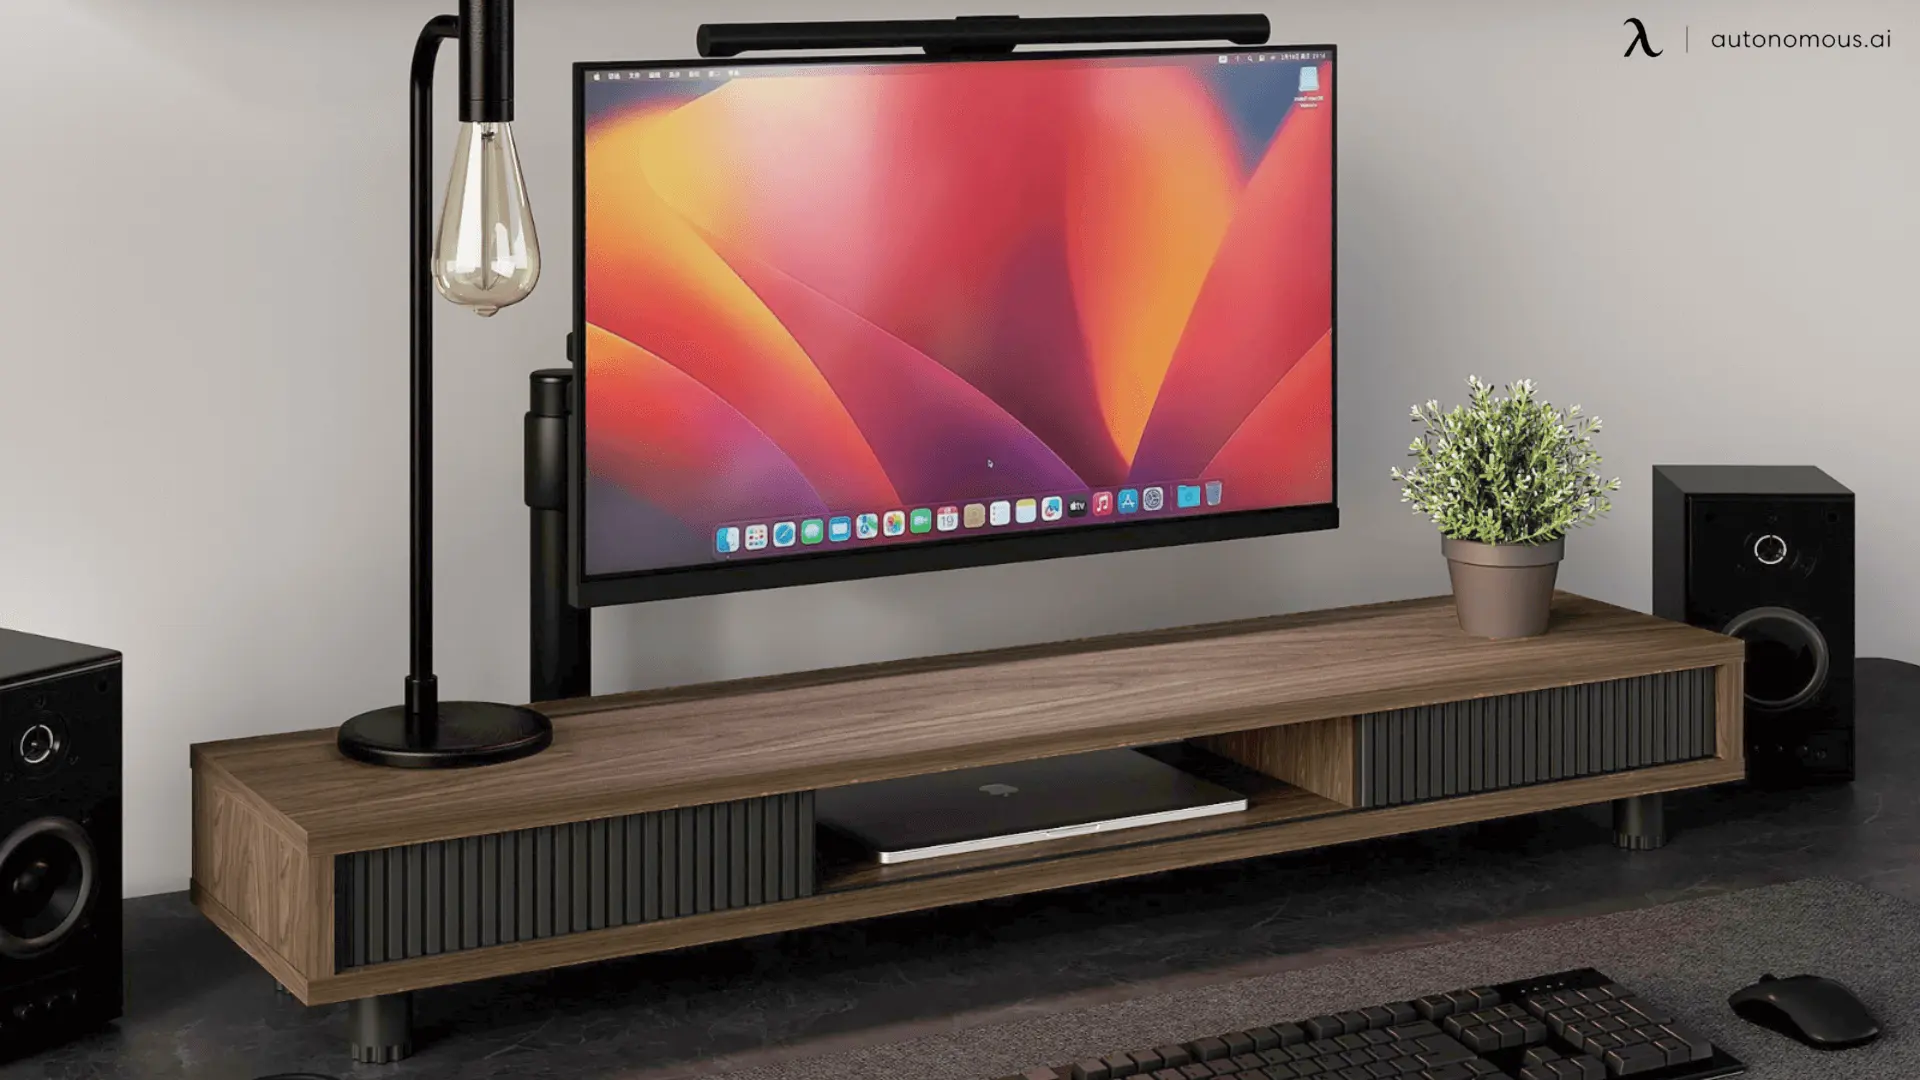
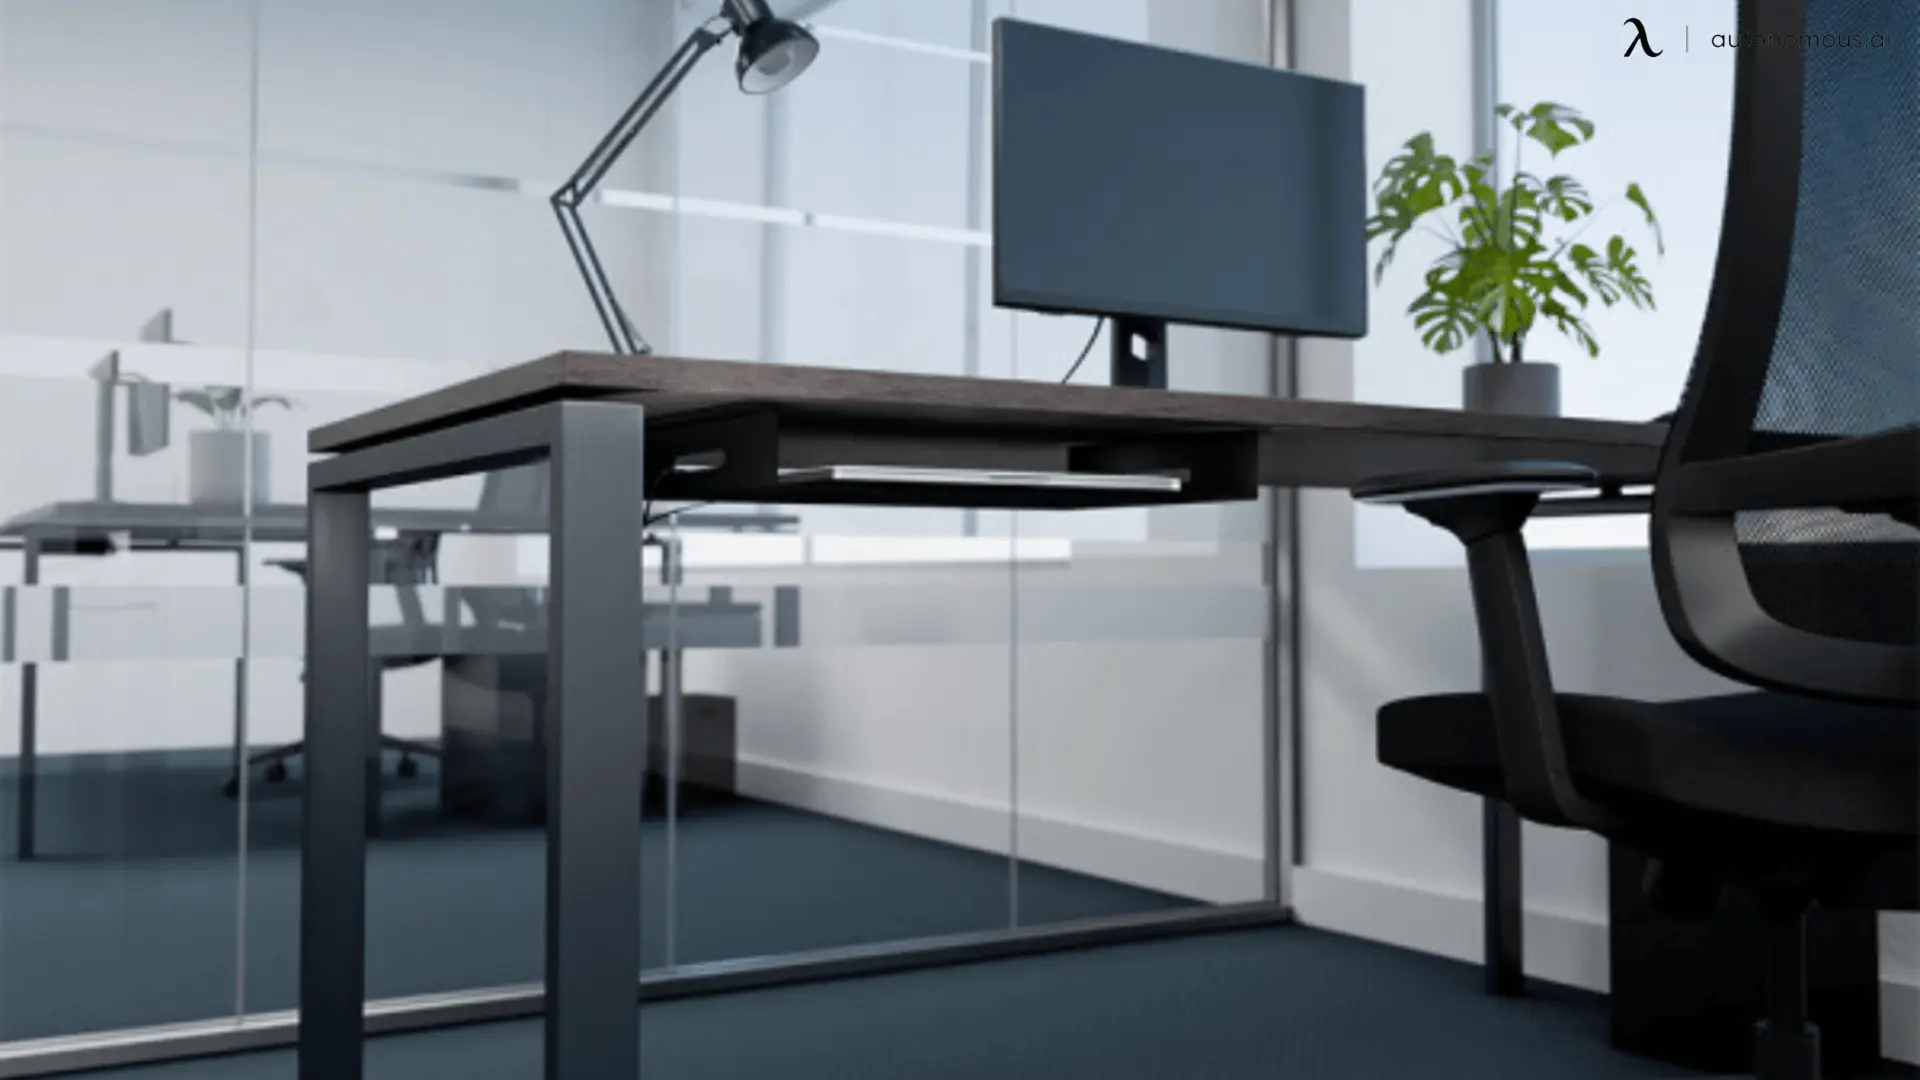
One of the most effective ways to hide your laptop is by using an under-desk laptop holder. This solution is perfect for maintaining a clean and organized workspace while keeping your laptop easily accessible. By mounting your laptop beneath the desk, you can free up valuable surface space for other essentials, such as external monitors or desk accessories. This setup is particularly beneficial for those with a dual monitor setup with laptop, as it allows you to streamline your workflow while keeping your workspace clutter-free.
An under-desk laptop holder is also ideal for improving ergonomics and functionality. Pairing it with a well-thought-out laptop desk setup can help create an efficient and comfortable workspace, whether you’re working from home or in an office. If you’re working with more complex configurations, such as learning how to set up 3 monitors on a laptop, an under-desk laptop holder provides the flexibility needed to handle multiple screens and devices without overcrowding your desk.
2. DIY Under-Desk Laptop Mount
Creating a DIY under-desk laptop mount is a cost-effective and customizable way to keep your laptop hidden while maintaining easy access. This solution is ideal for those who want to maximize desk space without sacrificing functionality or style. By building your own under-desk mount, you can tailor the design to suit your desk type, whether it’s a 2-tier standing desk, a non-adjustable standing desk, or even a vintage standing desk.
Materials You’ll Need:
- Metal L-brackets or adjustable mounting brackets
- Foam padding or rubber strips
- Screws and a drill
Steps to Build Your DIY Laptop Mount:
- Measure Your Laptop: Ensure the mount will fit your device securely.
- Install the Brackets: Attach the brackets under your desk, leaving enough room for ventilation.
- Add Cushioning: Use foam or rubber strips to protect your laptop from scratches.
- Secure Your Laptop: Slide your laptop into the mount and test its stability.
The installation process involves securing the brackets to the underside of your desk. This method works particularly well if you’re using a standing desk with cable management, as you can neatly route your laptop cables alongside the mount for a clean, streamlined look. If your desk legs are exposed, consider adding a standing desk leg cover to hide any visible mounting hardware, further enhancing the aesthetic appeal.
For those with existing desks that aren’t standing desks, you can still incorporate a DIY under-desk mount into your workspace. By choosing the right components, you can seamlessly convert your existing desk to a standing desk while integrating the laptop mount for added functionality.

3. Hide Your Laptop in a Desk Drawer
A desk drawer is a classic and effective solution for hiding your laptop. Choose a computer desk with built-in storage or add a sliding drawer underneath your existing desk. By keeping your laptop out of sight when not in use, you can declutter your desk and create a more focused work environment. This method also protects your laptop from dust, spills, and accidental damage, ensuring its longevity.
Additionally, with proper cable management, a desk drawer can double as a convenient charging station, keeping your device powered up and ready to go. To make the most of this setup, consider using a drawer with ventilation holes to prevent overheating, especially if you plan to charge your laptop while it’s stored. Installing a charging hub inside the drawer can further enhance convenience, allowing you to keep your workspace tidy and efficient without compromising functionality. Desk drawer storage is a practical and aesthetically pleasing way to manage your laptop and maintain a sleek, organized desk setup.
4. Use a Desk Shelf or Vertical Organizer
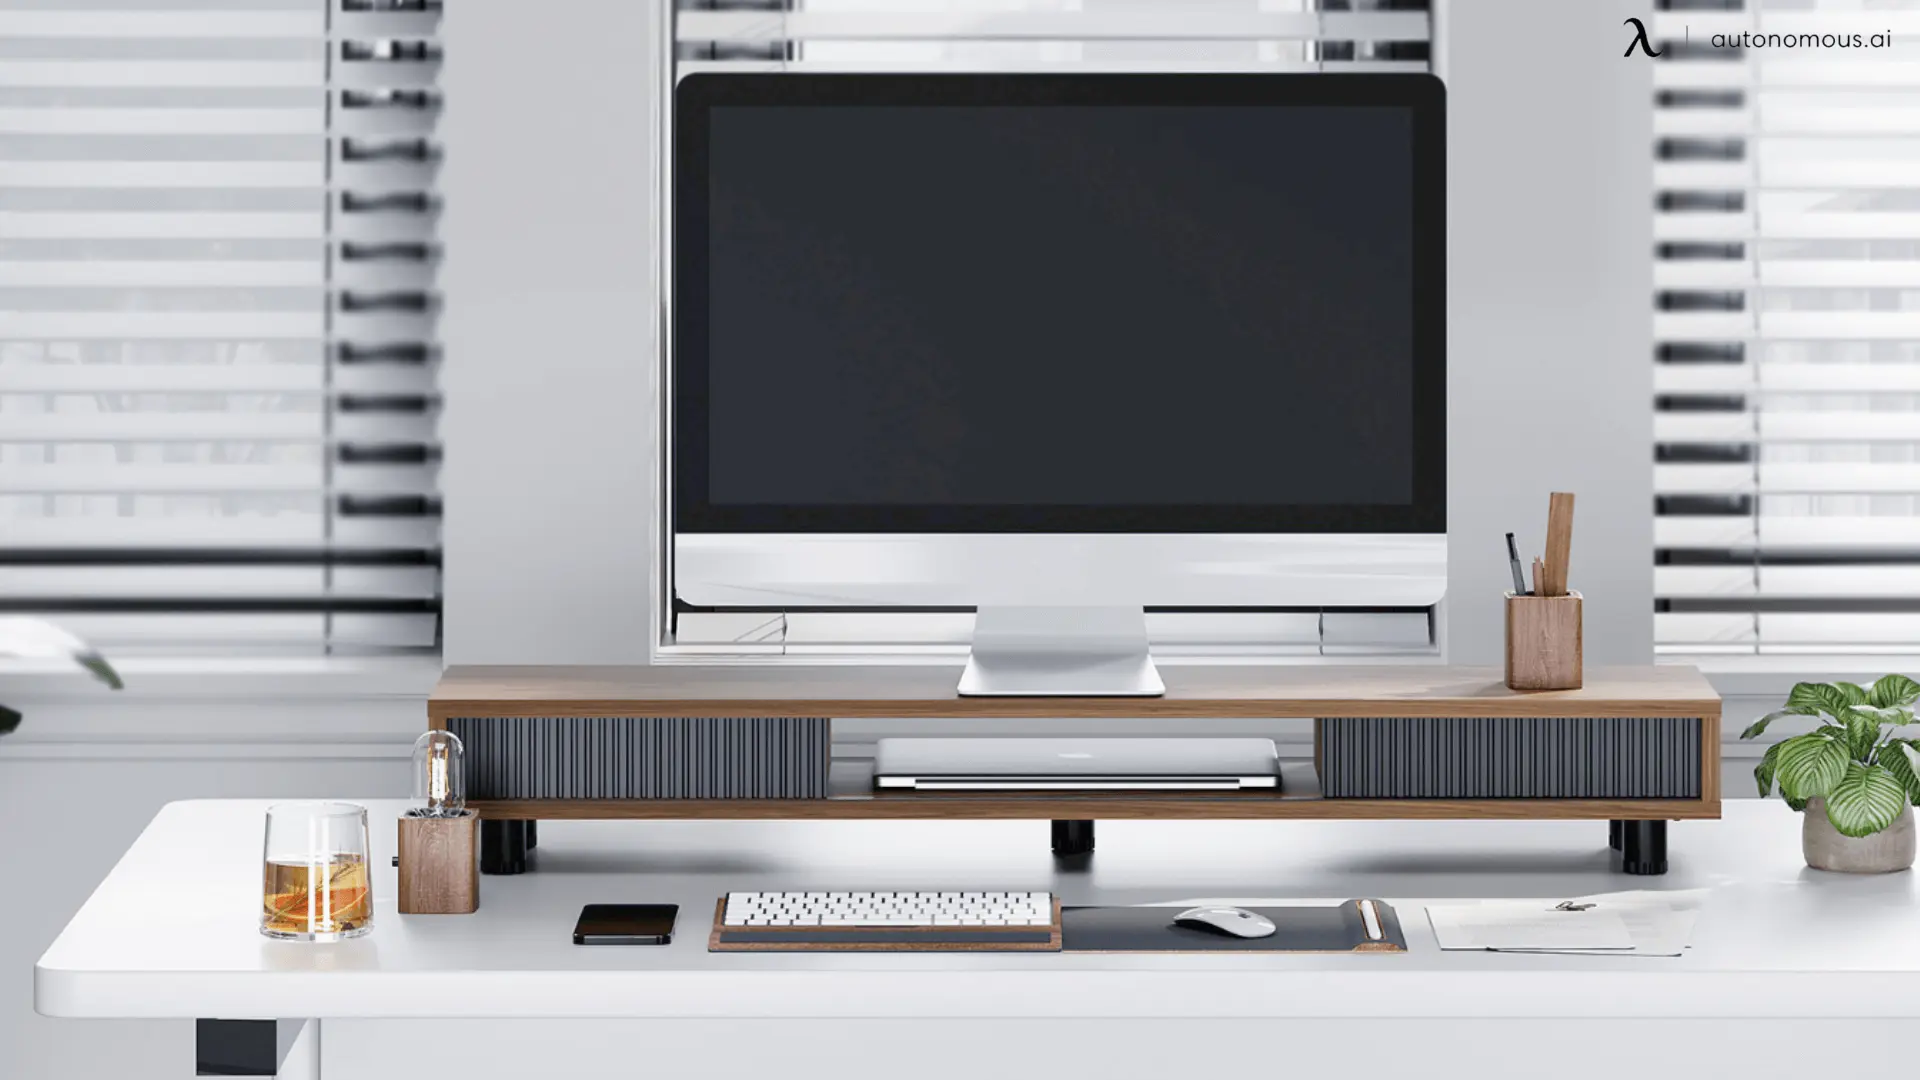
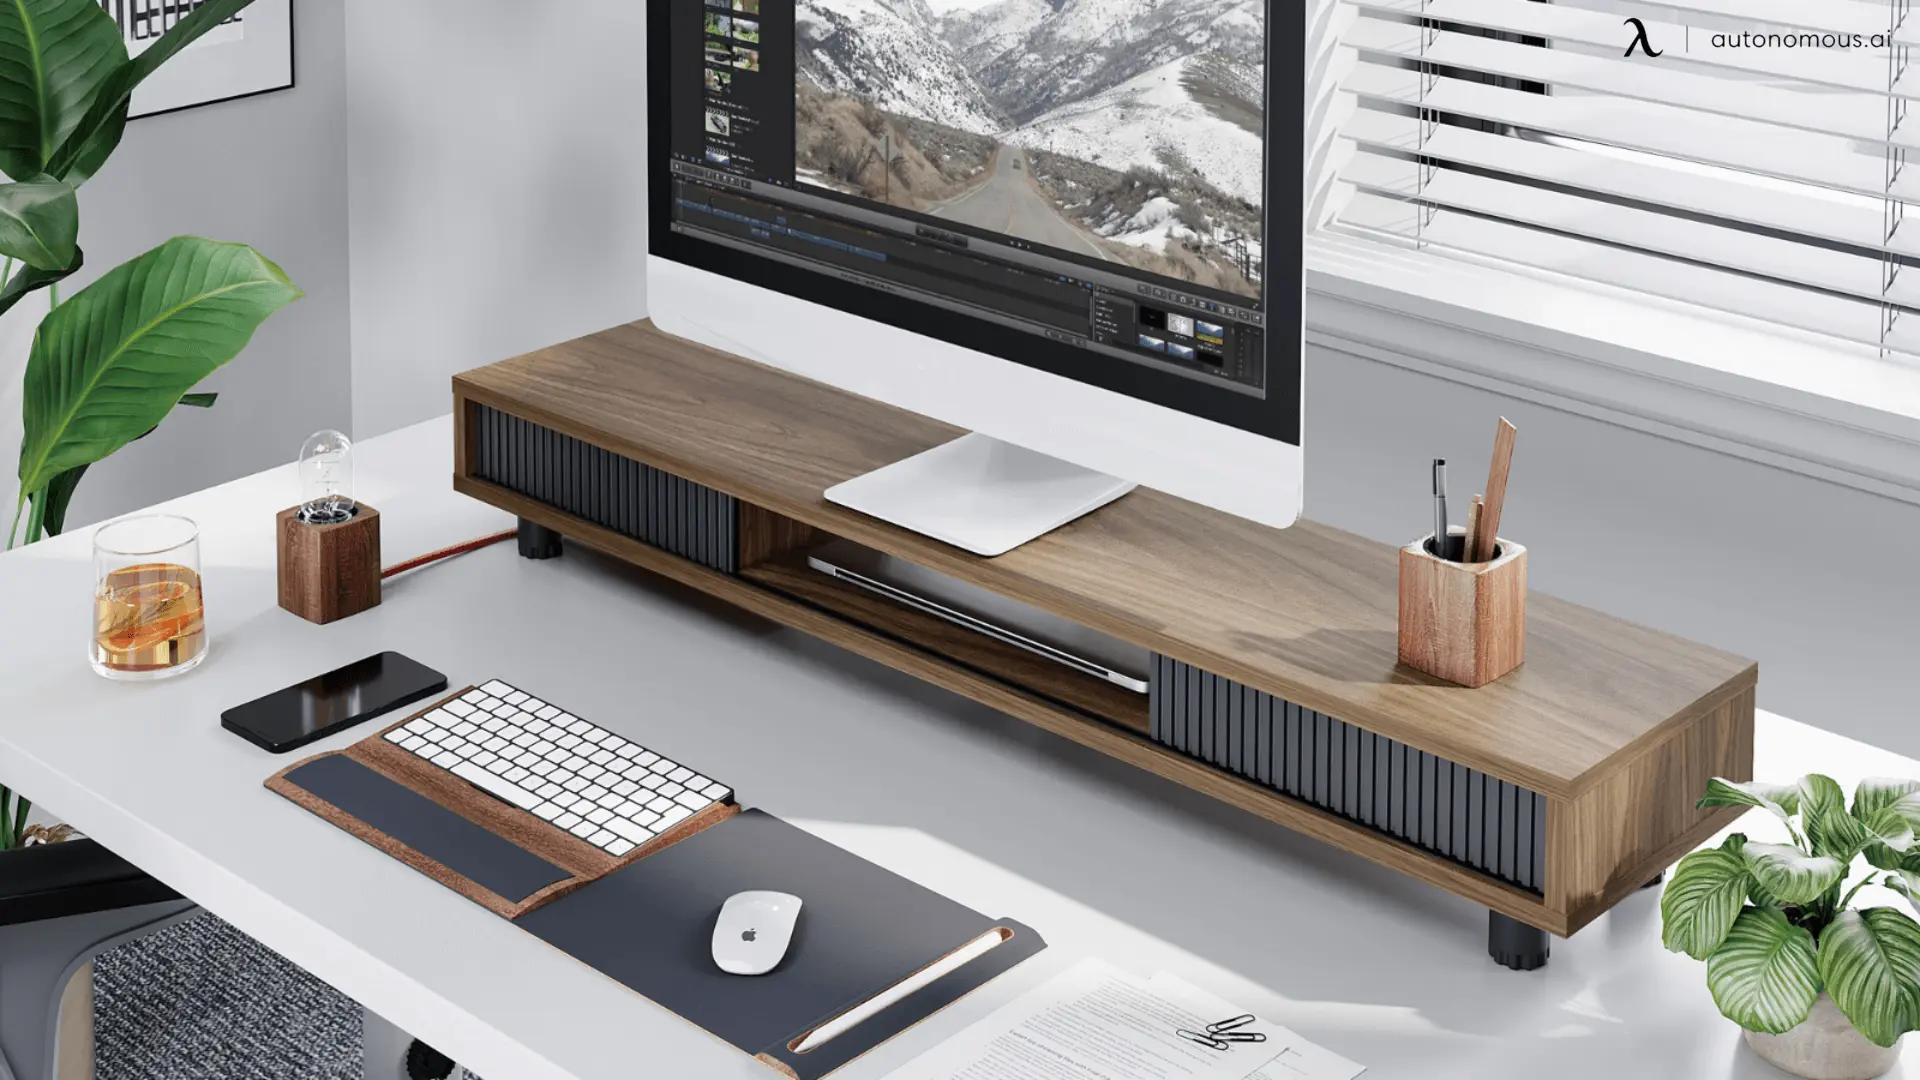
If under-desk solutions aren’t feasible, consider using a desk shelf or vertical organizer to conceal your laptop. Ideas for desk shelf integration:
- Place your laptop on a hidden shelf behind your monitor.
- Use a vertical laptop stand to store the laptop upright and out of view.
- Decorate the shelf with books or plants to camouflage your device.
FAQs
Can I use any desk for an under-desk laptop mount?
Most desks can accommodate an under-desk laptop mount, but the thickness and material of the desk are critical. Ensure your desk has a sturdy surface for screws or adhesive mounts. For thinner desks, consider reinforcements to prevent damage.
Will mounting my laptop under the desk affect its ventilation?
Proper ventilation is crucial for laptops. To prevent overheating, leave enough space between the mount and the desk for airflow. Using an open-design mount or adding small fans can help maintain proper cooling.
Can a DIY under-desk mount support a gaming laptop?
Yes, but you need to consider the weight and size of the gaming laptop. Use heavy-duty brackets and ensure the mount is securely attached. Additionally, make sure the mount can handle the additional heat generated by gaming laptops.
Is it easy to access ports on a laptop mounted under the desk?
Accessibility depends on how the mount is designed. Opt for a mount that allows you to slide the laptop in and out easily or one with adjustable brackets to access ports without removing the device.
What tools do I need for building a DIY laptop mount?
Common tools include a drill, screws, a screwdriver, and a measuring tape. You may also need foam padding or rubber strips for protection and metal brackets for the mount structure.
How much weight can a DIY under-desk mount support?
The weight capacity depends on the materials and brackets used. Most DIY mounts can support standard laptops, but for heavier devices, such as gaming laptops, opt for reinforced brackets and screws rated for higher loads.
Can I use adhesive strips instead of screws to attach the mount?
Adhesive strips can work for lightweight laptops, but they may not be reliable for heavier devices or prolonged use. Screws provide a more secure and durable solution, especially for frequent adjustments.
Can I add a DIY mount to a standing desk?
Yes, DIY under-desk mounts are compatible with standing desks, including motorized and non-adjustable models. Just ensure the mount doesn’t interfere with the desk’s height adjustment mechanism or cable routing.
How do I ensure my laptop stays secure in the mount?
To keep your laptop secure, add foam padding or rubber strips to the brackets to prevent slipping. You can also use adjustable straps for extra stability, particularly if you frequently adjust the desk’s height.
Can I install a laptop mount on a glass desk?
Glass desks require special considerations, as screws are not an option. Instead, use adhesive mounts designed for glass surfaces or explore clamp-style mounts that attach to the edges without damaging the desk. Ensure the laptop’s weight is well-distributed to avoid stressing the glass.

Conclusion
Learning how to hide your laptop on a desk is a simple yet impactful way to elevate your workspace. Whether you opt for a DIY under-desk laptop mount, a sleek pre-made holder, or another creative solution, hiding your laptop can transform your desk into a cleaner, more organized, and productive area.
Take the time to pair these methods with effective cable management and ergonomic desk accessories, and you’ll create a workspace that’s both functional and visually appealing. Explore your options, and find the perfect solution that works for your unique needs.
Get exclusive rewards
for your first Autonomous blog subscription.
Spread the word
You May Also Like
.jpg)

/https://storage.googleapis.com/s3-autonomous-upgrade-3/production/ecm/240725/1(11).jpg)
/https://storage.googleapis.com/s3-autonomous-upgrade-3/production/ecm/240325/1(1).jpg)
/https://storage.googleapis.com/s3-autonomous-upgrade-3/production/ecm/240724/1(9).jpg)
/https://storage.googleapis.com/s3-autonomous-upgrade-3/static/upload/images/customer/mtower_features-0_1651737850.jpg)


-7512dd9e-3510-42ed-92df-b8d735ea14ce.svg)


