How to Set Up a MacBook Air with Dual Monitors?
Table of Contents
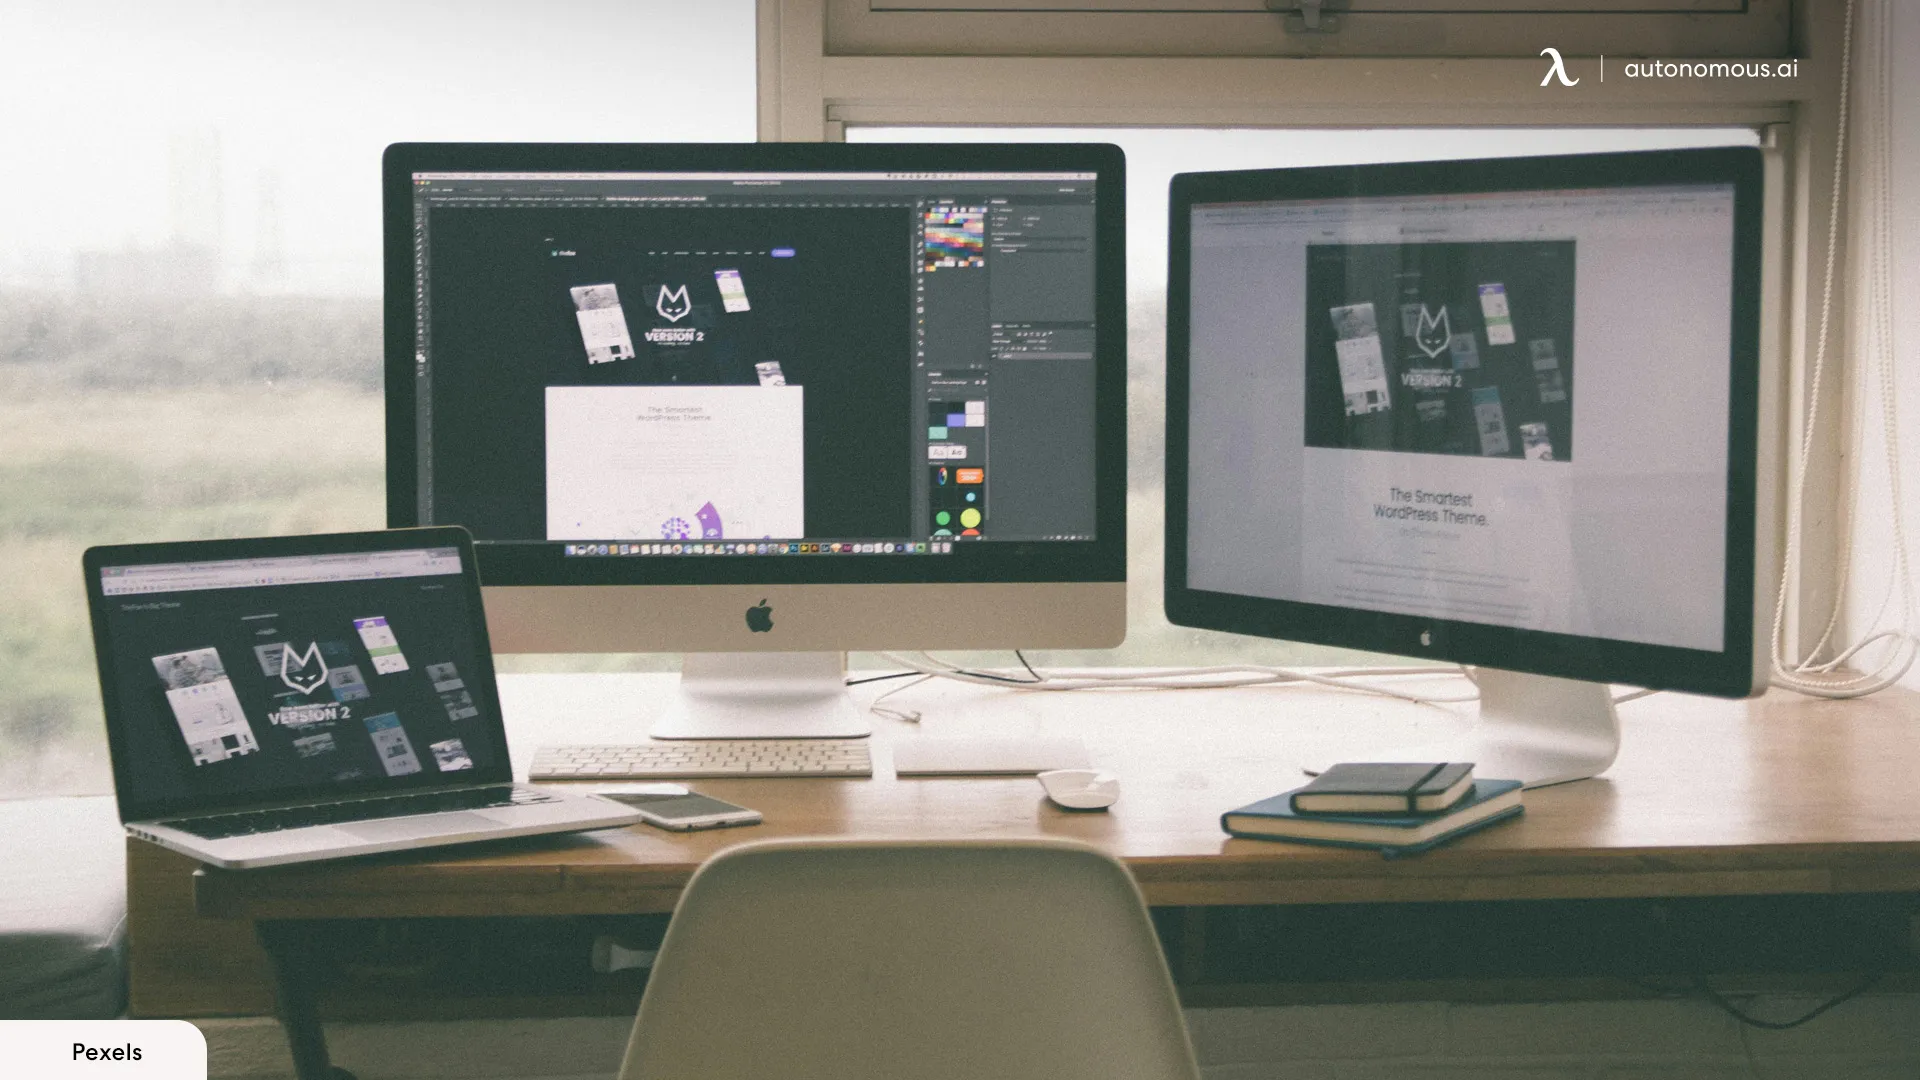
Interested in extending the use of your Apple MacBook Air? A dual monitor setup for MacBook Air can make this possible. It lets you do many tasks at once and maximize your workspace. The added monitor drastically enhances multitasking capabilities, facilitating the simultaneous execution of numerous tasks while optimizing valuable workspace.
Our guide will show you how to add dual monitors to your MacBook desk setup, step by step. With our help, bid farewell to cluttered screens and enjoy a more efficient workspace.
Setup Guide for 2 Monitors on Apple MacBook Air
For dual monitors setup on a MacBook Air, you should plug the additional screens into the Thunderbolt/USB 4 ports found on your MacBook. If your cable isn't meant for a Thunderbolt or USB 4 port, adapters can be used to pair it up with the display. A USB-C Digital AV Multiport Adapter would serve for an HDMI display connection. Alternatively, through a USB-C VGA Multiport Adapter, one could link up a VGA display.
To operate two external monitors with an M3-chipped MacBook Air, ensure the laptop is charging with its lid closed and connected to either an external keyboard or mouse. The first display can accommodate up to 6K resolution at 60 Hz or a faster refresh rate of 144 Hz for 4K resolution. Simultaneously, the second screen can display up to a resolution of 5K at 60Hz or give the user an alternative of using it in high-resolution mode of about 100 Hz at 4K.
Once you have connected the external displays, you can go to System Settings and click Displays in the sidebar to set how the displays are arranged, choose which to use as your main display, and adjust the resolution and refresh rate.

Display Settings
To adjust display settings for dual monitors on a MacBook Air, you can follow these steps:
- Connect the external displays to the MacBook Air using the appropriate cables and adapters if necessary.
- Open the Apple menu in the top-left corner of the screen and select "System Settings" or "System Preferences" depending on your macOS version.
- Click on "Displays" in the sidebar.
- Under the "Arrangement" tab, uncheck the "Mirror Displays" box to use dual monitors.
- Ensure that the "Mirror Displays" option is unchecked on your main display.
- Review the display diagram on your main screen to verify the positioning of your displays. If necessary, drag the secondary monitor icon to its correct position.
- Ensure the image appears neither squashed, stretched, nor discolored. If it appears incorrect, select "Scaled" and choose the appropriate resolution for your display.
- Select the native resolution for your monitor for the best results. It needs to be equal to or lower than the resolution that your Mac is capable of handling.
- If you're satisfied with the monitor positioning, you can close the display settings and start using your Mac.
Note: Not all options described here appear for all displays or Mac models, and some options appear only when your Mac is connected to a display.

Troubleshooting
Both Monitors Displaying the Same Image: This issue occurs when both external monitors show the same content instead of extending the desktop. To resolve this, ensure that you uncheck the “Mirror Displays" box in the “Arrangements” tab.
MacBook Only Detects One External Monitor: If your MacBook Air recognizes only one of the external monitors, check the physical connections, cables, and ports for any damage or issues. Additionally, ensure that the adapters you are using are compatible and functioning correctly.
Software Compatibility Problems: Some software solutions may not work seamlessly with dual monitors on a MacBook Air. Make sure to install the necessary drivers or software, such as DisplayLink Manager, to enable proper functionality and detection of both external monitors.

Optimizing Your. Dual Monitor Setup for Ergonomics
Your dual monitor setup should be positioned ergonomically for optimal comfort, as it’s essential for maintaining health and productivity in the long run. The monitors should be set up at eye level to prevent neck discomfort. Each monitor's center needs to align with your sitting position. Maintain a distance equivalent to an arm's length from the screens to reduce eye strain. Angling the monitors slightly inward helps minimize glare and reflections. You may consider investing in an adjustable mount or monitor arm for your monitor, allowing you to adjust its height and angle according to your preference. Enhancing your dual-monitor setup with ergonomic chairs and standing desks can offer proper body alignment, reducing musculoskeletal problems and potential risks.

Some Setup Ideas for 2 Monitors
Dual Monitor Setup with L-shaped Desk
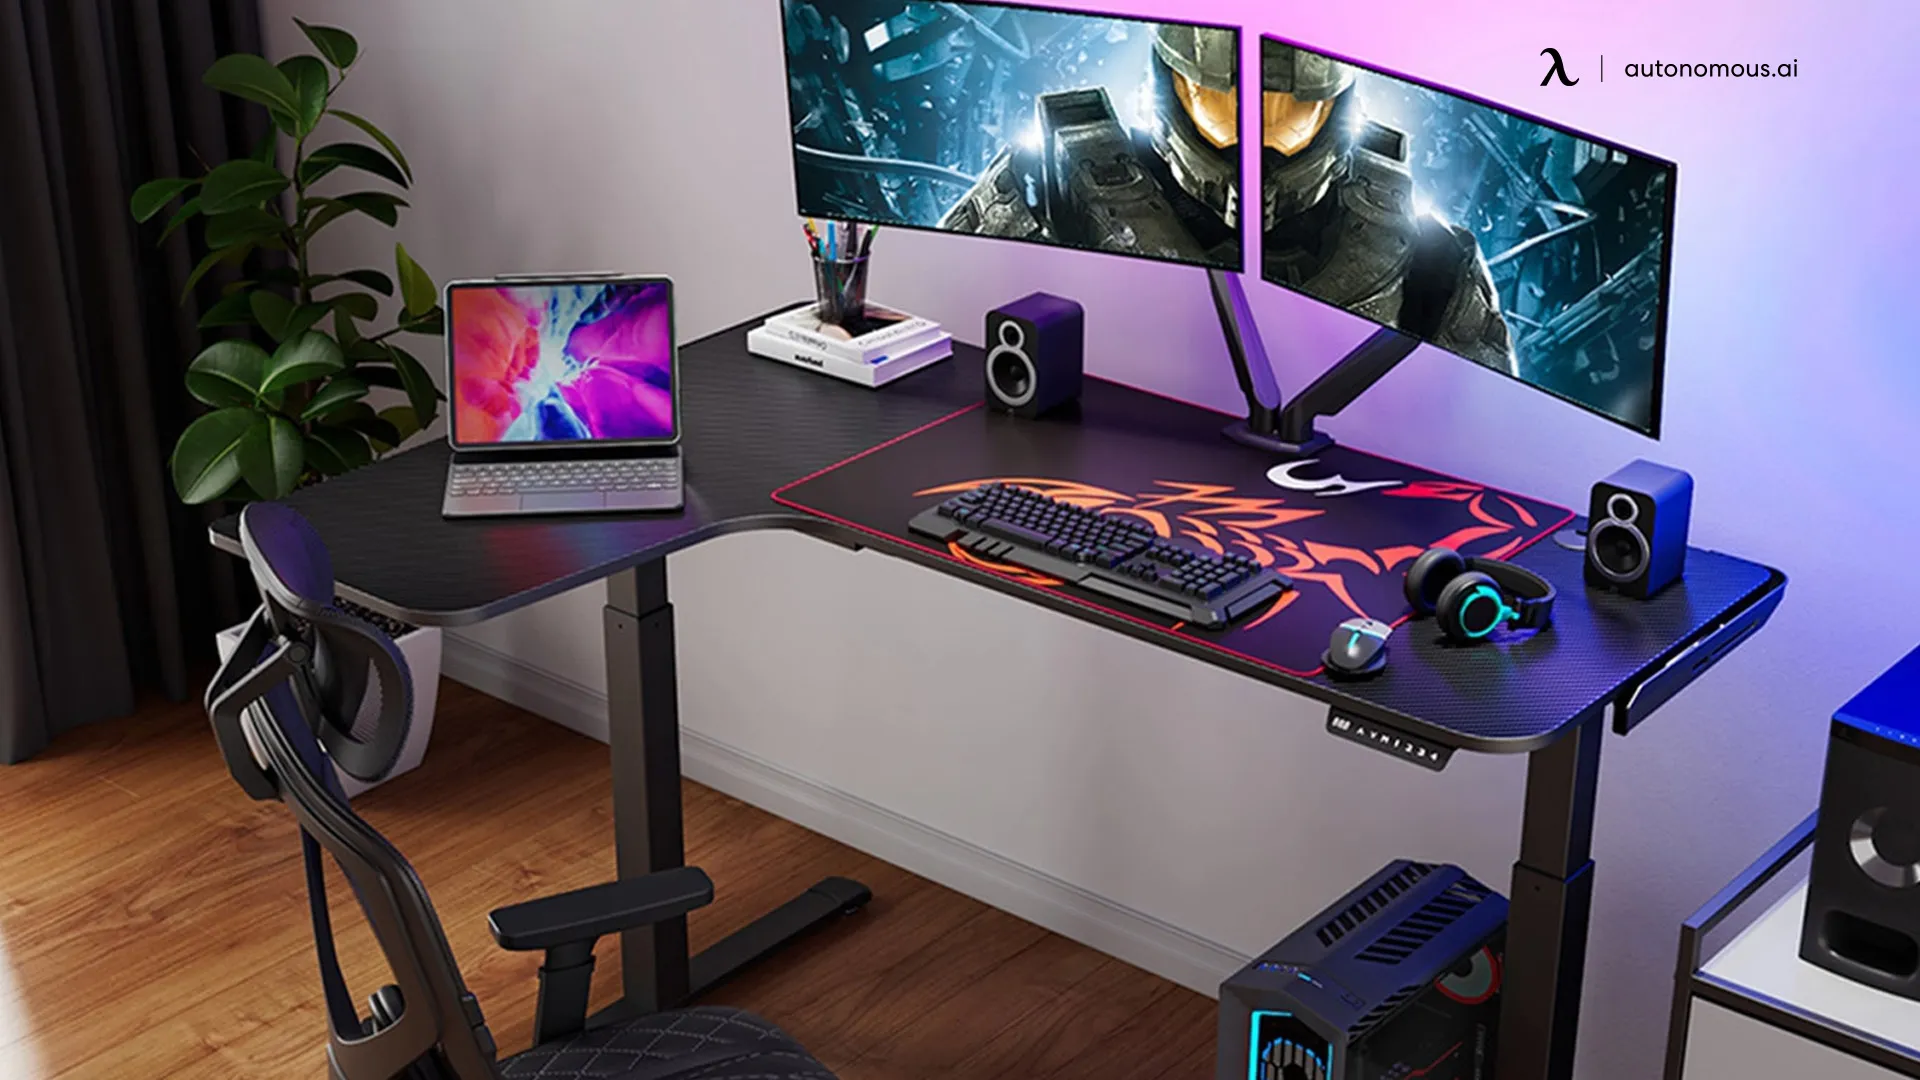
In an L-shaped desk monitor arrangement, two monitors are placed on either side of the L-shaped desk. This layout utilizes corner space effectively and accommodates multitasking efficiently. The L-shaped configuration fosters improved organization and task management while also enhancing ergonomic comfort.
Stacked Dual Monitor Setup
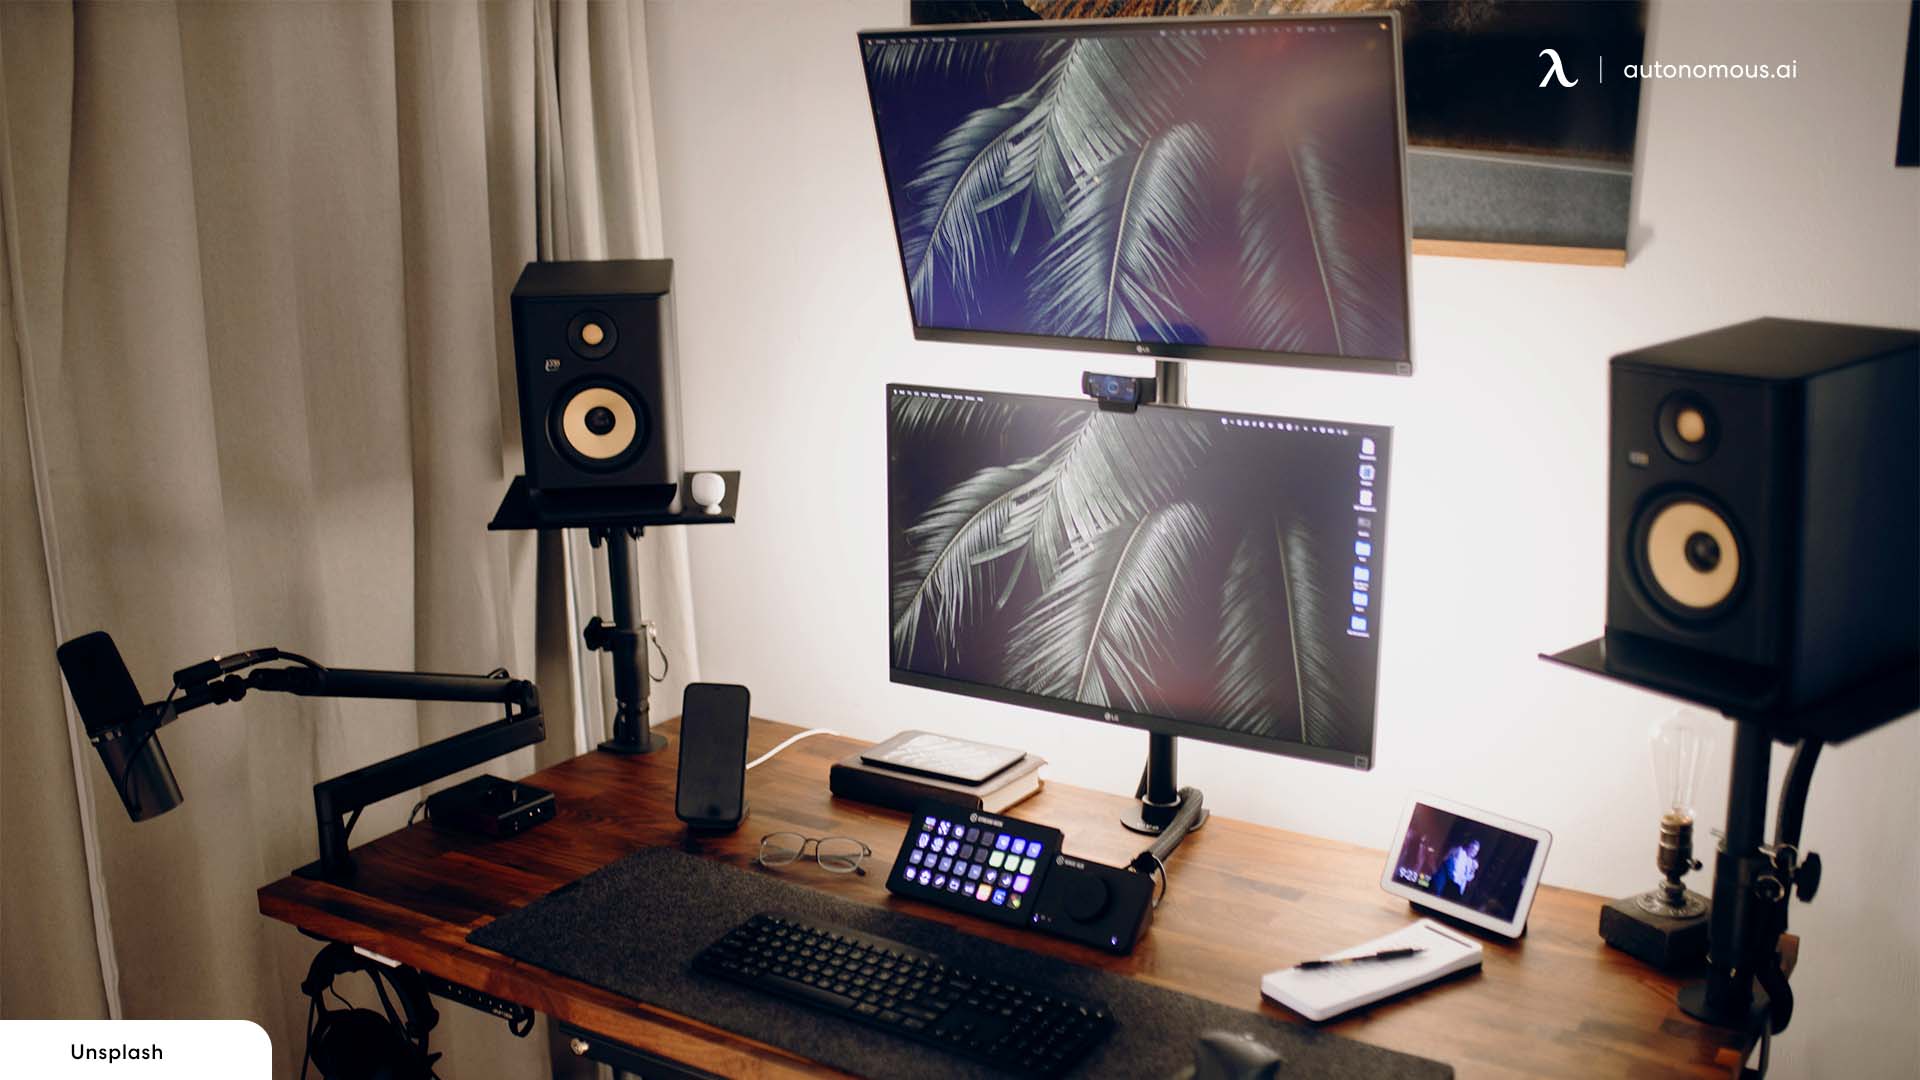
In the stacked dual monitor setup, the two monitors are placed vertically, with one monitor positioned over the other. This multiple monitor setup idea makes excellent use of vertical space and is an ideal choice for users limited by desk space. It is particularly suitable for jobs that require vertical content viewing or comparison.
Vertical Dual Monitor Setup
The vertical dual monitor setup comes in two variations, positioning both monitors in portrait mode or having one in landscape and the other in portrait. Depending on the type of content, users can change between the two modes for optimal viewing angles. This setup is particularly beneficial for professionals in design work, coding, or document editing.
Dual Ultrawide Monitor Setup
The dual ultrawide monitor setup involves positioning two wide monitors side by side. The best dual monitor setup for MacBook Air, this provides an extensive viewing area, allowing you to see across a broad space. It facilitates multitasking by providing ample screen real estate for all tasks and activities. This setup is beneficial for many professional tasks and also for entertainment.

Conclusion
Creating a dual monitor setup for MacBook Air substantially increases productivity. Using this guide, you've mastered the simple steps needed to transform and optimize workspace efficiency through a dual monitor arrangement. Remember, multitasking is more manageable when one's digital landscape is spread across multiple screens rather than jammed into one.
So embrace this transformative shift and enjoy working smarter on your dual monitor setup with MacBook Air.
Get exclusive rewards
for your first Autonomous blog subscription.
You May Also Like


-7512dd9e-3510-42ed-92df-b8d735ea14ce.svg)


