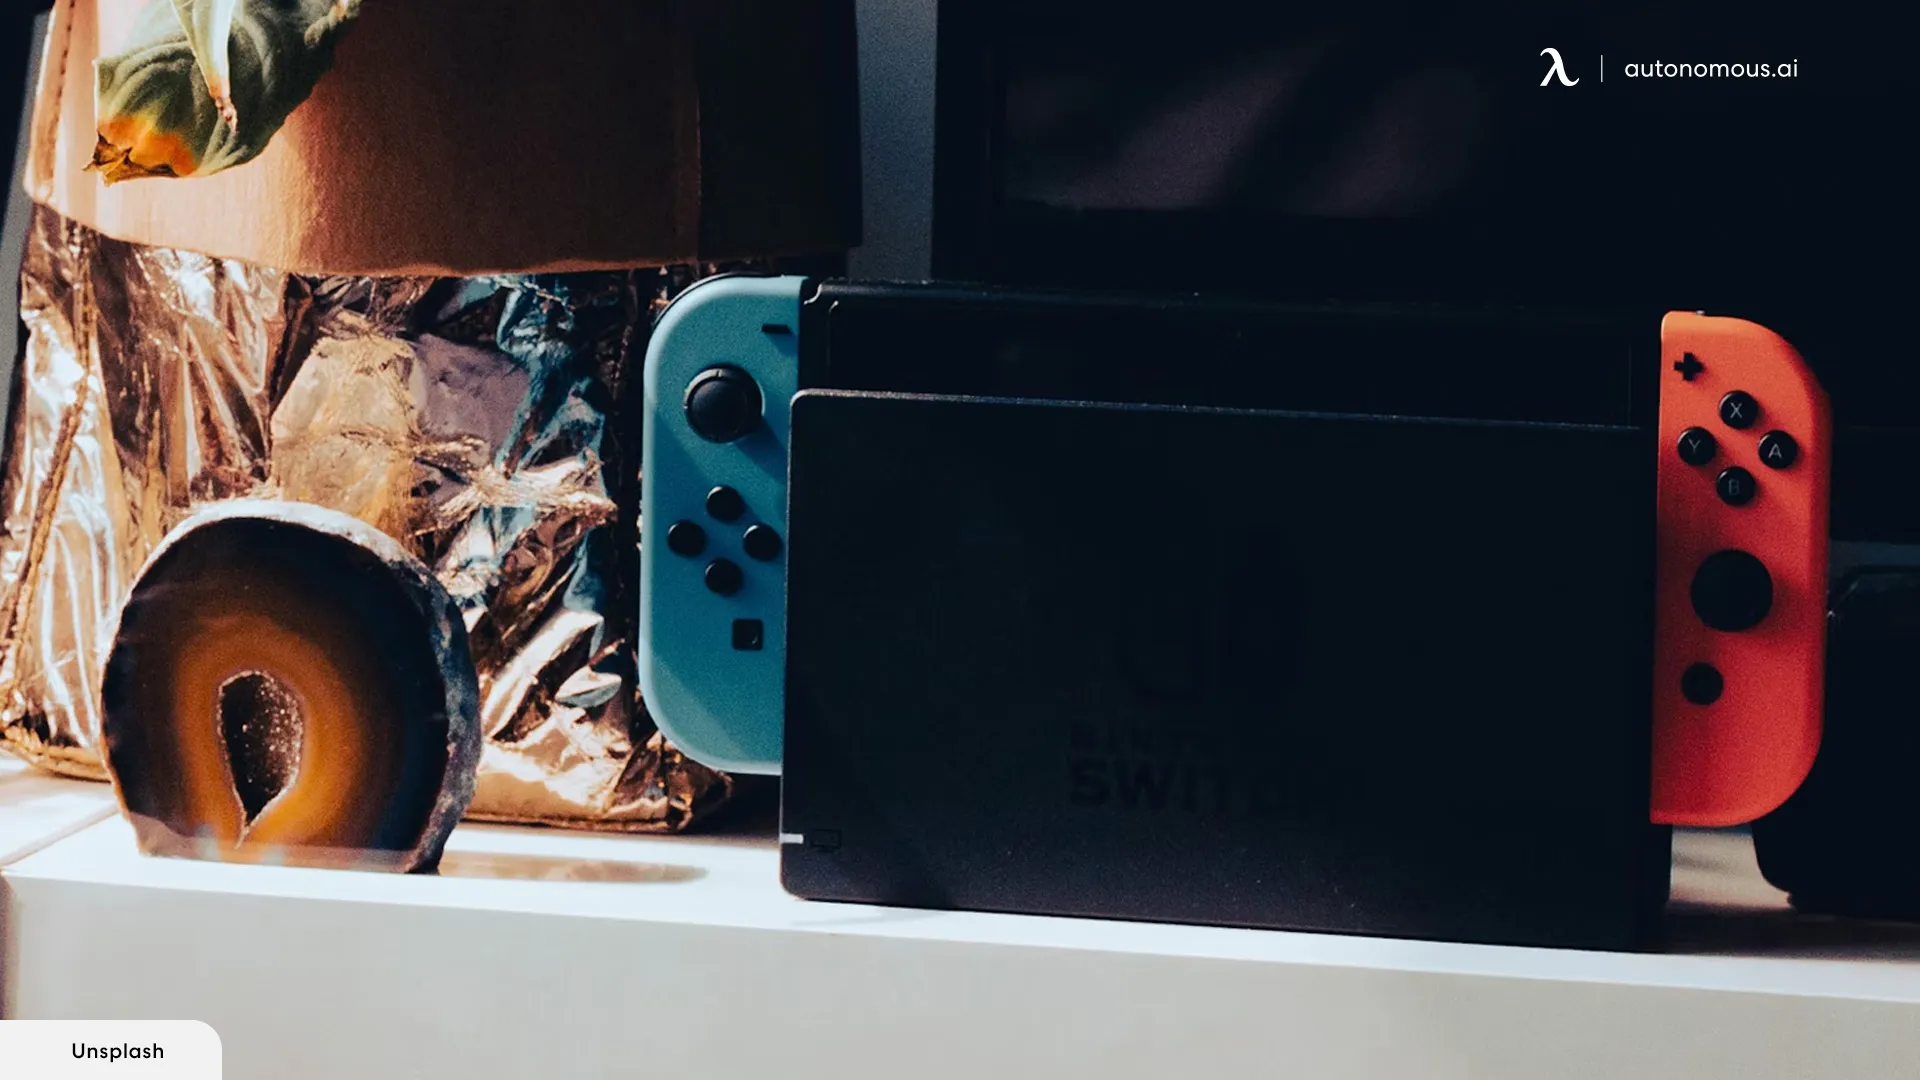
Comprehensive Guide to Setting Up Your Nintendo Switch to a TV
Table of Contents
- Nintendo Switch to TV vs. Nintendo Switch to Monitor
- Connecting Your Nintendo Switch to a Monitor
- How to Connect Your Nintendo Switch to a TV?
- Step 1: Gather Everything You Need
- Step 2: Open the Back of Your Switch Dock
- Step 3: Plug In Your HDMI and Other Required Cables to the Dock
- Step 4: Connect the HDMI Cable to Your TV
- Step 5: Organize Your Cables and Equipment (Optional)
- Step 6: Put your Nintendo Switch in the Dock
- Step 7: Adjust Settings
- Step 8: Start Playing Your Favorite Games!
- How to Set Up a Nintendo Switch to a TV Without the Dock?
- Enjoy an Unparalleled Gaming Experience!
- Frequently Asked Questions
Setting up your Nintendo Switch to a TV? Is that possible? This popular console combines the best of two worlds: you can play at home or on the go with the same device.
If you want to enjoy a big-screen experience, just use the dock that comes with every Nintendo Switch, except for the Lite version, to switch between handheld or mobile playability and a standard gaming adventure.
Nintendo wanted to make this process quick and easy. Switching between both modes won’t take you more than a few minutes. However, you still need to connect the console to your TV in order to start playing.
Are you wondering how to hook up your Nintendo Switch to a TV? Do you want to learn how to connect the dock's video output to your big screen to create the perfect console gaming setup? This guide contains all the information you need. Read on!
Nintendo Switch to TV vs. Nintendo Switch to Monitor
For a big-screen gaming adventure, you have two options: setting up your Nintendo Switch to a TV or connecting this device to a monitor. What is the difference between both methods?
TVs are designed for longer viewing distances and come in larger sizes, from 32” to 80” or more, making them suitable for larger rooms. These devices are great choices if you want to sit on a comfortable sofa while playing your favorite video game.
The main disadvantage of TVs is that their technologies often focus on picture processing instead of responsiveness, introducing input lag. If you prefer fast-paced games, this might be a bit annoying.
Monitors, on the other hand, disable additional image processing, which means they offer low input lag and can be great options for games that require quick reflexes.
Unlike TVs, monitors are suitable for shorter viewing distances or smaller spaces, as these devices are typically from 24” to 32”, so you must sit close to the screen.
You can always design a dual-monitor gaming setup for a bigger picture. So, this shouldn't be a big problem.
Both TVs and monitors offer various resolutions, including 1080p, 1440p, and even 4K. However, the Nintendo Switch's maximum video output is 1920x1080 pixels if connected to a TV using an HDMI cable and 1280x720 pixels when in tabletop or handheld mode.
Another important difference between both devices lies in their functionalities. TVs have built-in smart features and speakers, but monitors don't. If you want to connect your Nintendo Switch to your PC screen, you may need to use external equipment, such as headphones.
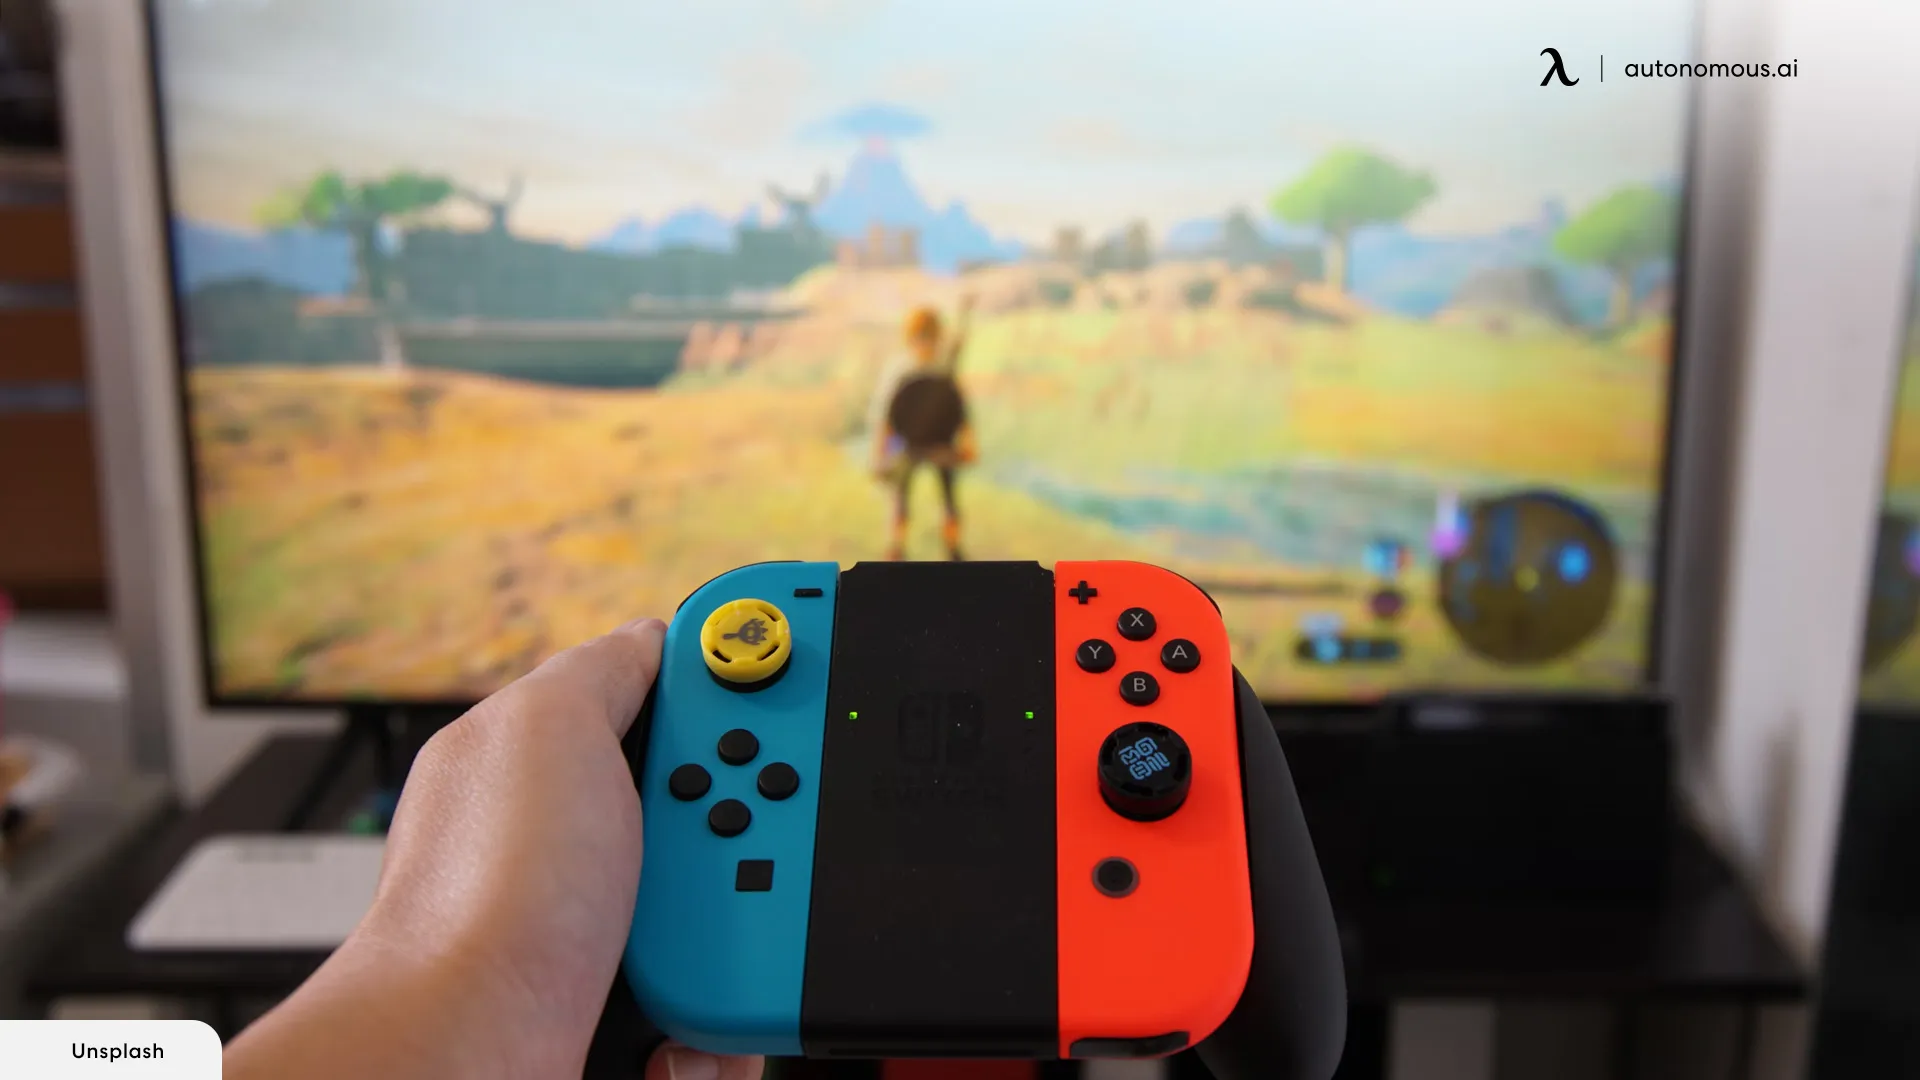
Connecting Your Nintendo Switch to a Monitor
Are you planning to create a curved-monitor gaming setup? Did you buy a dual monitor stand to install two screens? Connecting your Nintendo Switch to this device is so easy!
If you're looking for information on how to set up a Nintendo Switch to a TV or a monitor, you'll see that both processes are similar. These are the steps you should complete when using your computer screen:
- Gather your equipment and tools (your Nintendo Switch, the TV dock with power supply, a gaming monitor with HDMI connector, and a HDMI cable)
- Attach one end of the HDMI cable to the dock’s HDMI port
- Attach the other end of the cable to your monitor's HDMI connector
- Turn both devices on
- Select the right source
- Set up display settings
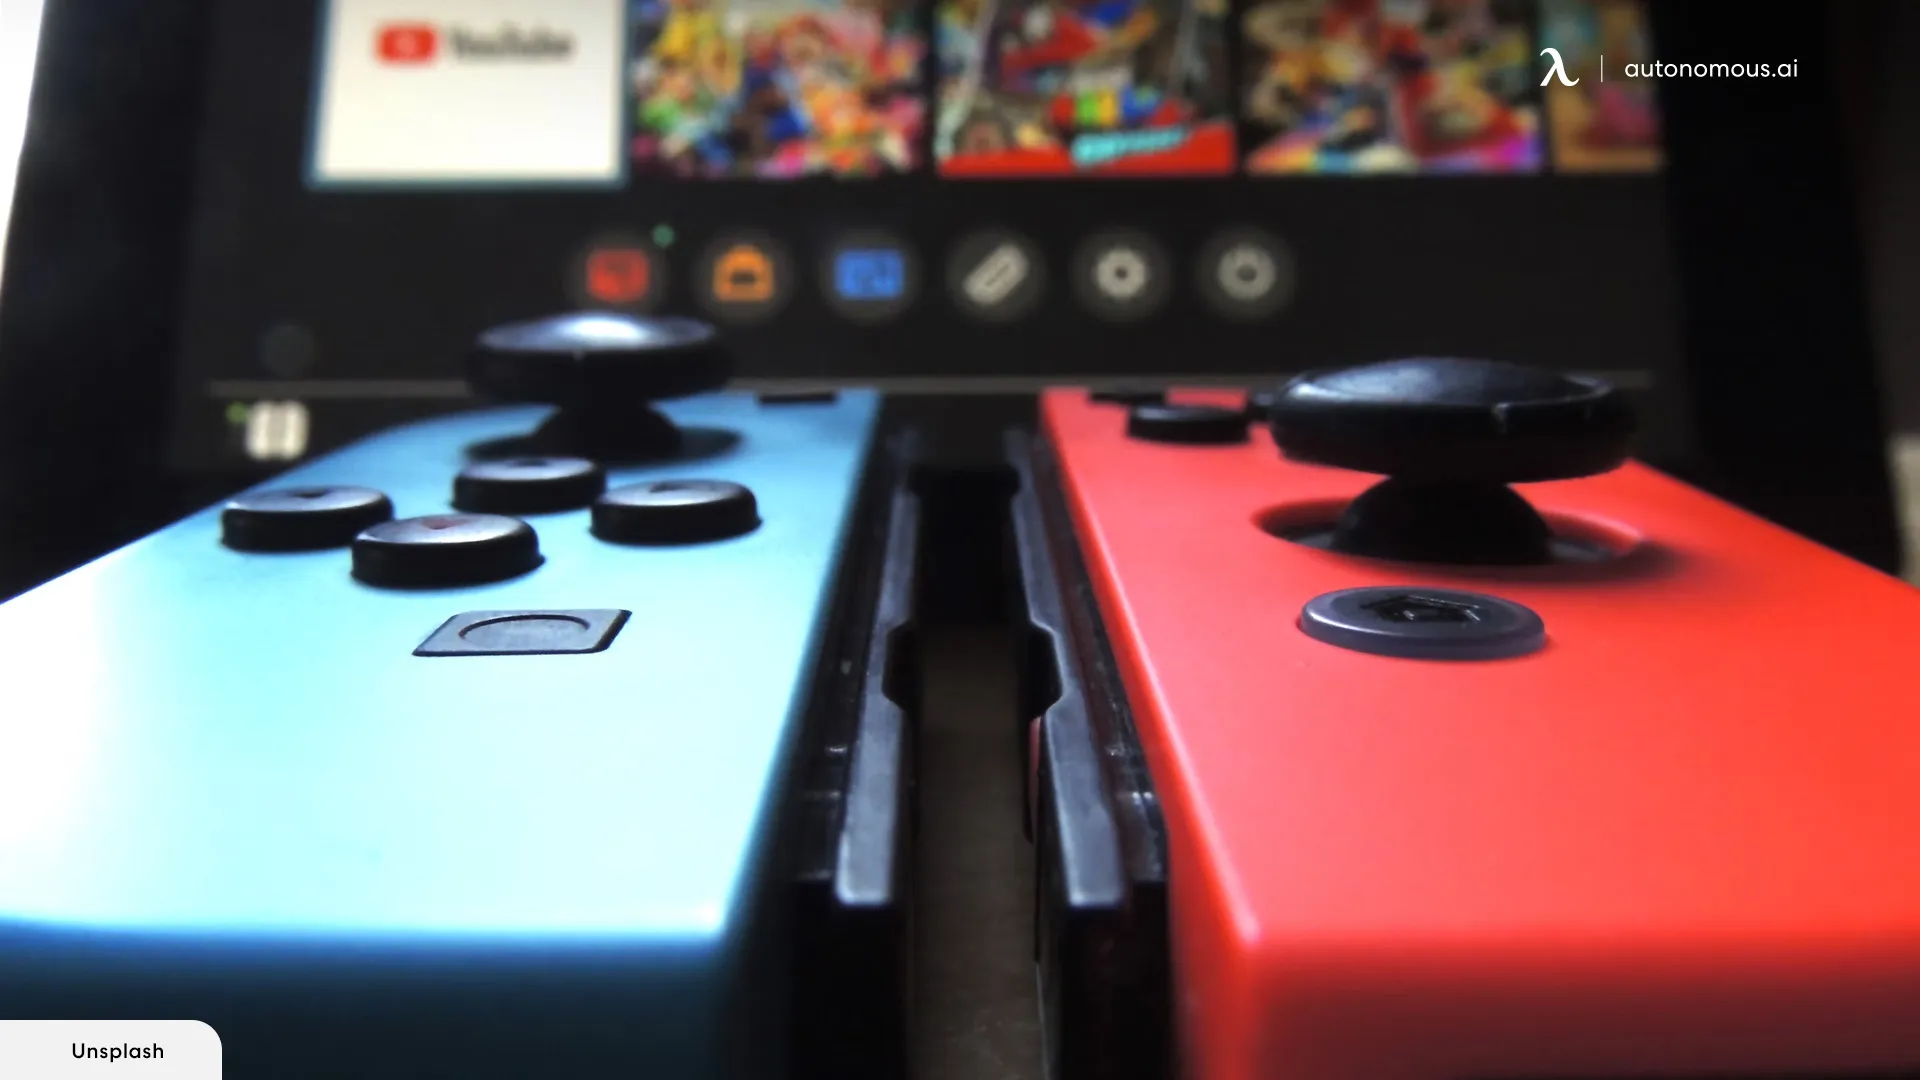
How to Connect Your Nintendo Switch to a TV?
You decided you wanted to enjoy your Nintendo Switch experience on a big screen with exceptional sound and resolution, so you prepared your TV and purchased all the gaming setup accessories to create the perfect environment for your adventures. What is the next step?
If you've been wondering how to connect your Nintendo to the TV, check out the following steps:
Step 1: Gather Everything You Need
To connect your Nintendo Switch to your TV, the first thing you should do is gather all the tools, devices, and accessories you'll use, such as the following:
- Your Nintendo Switch
- The Nintendo Switch dock
- A set of Joy-Con controllers
- Your preferred TV with relevant ports
- An HDMI cable, which is often included with the Nintendo Switch
- A USB-C power cable
- LAN cable (optional)
- Cable management accessories (optional)
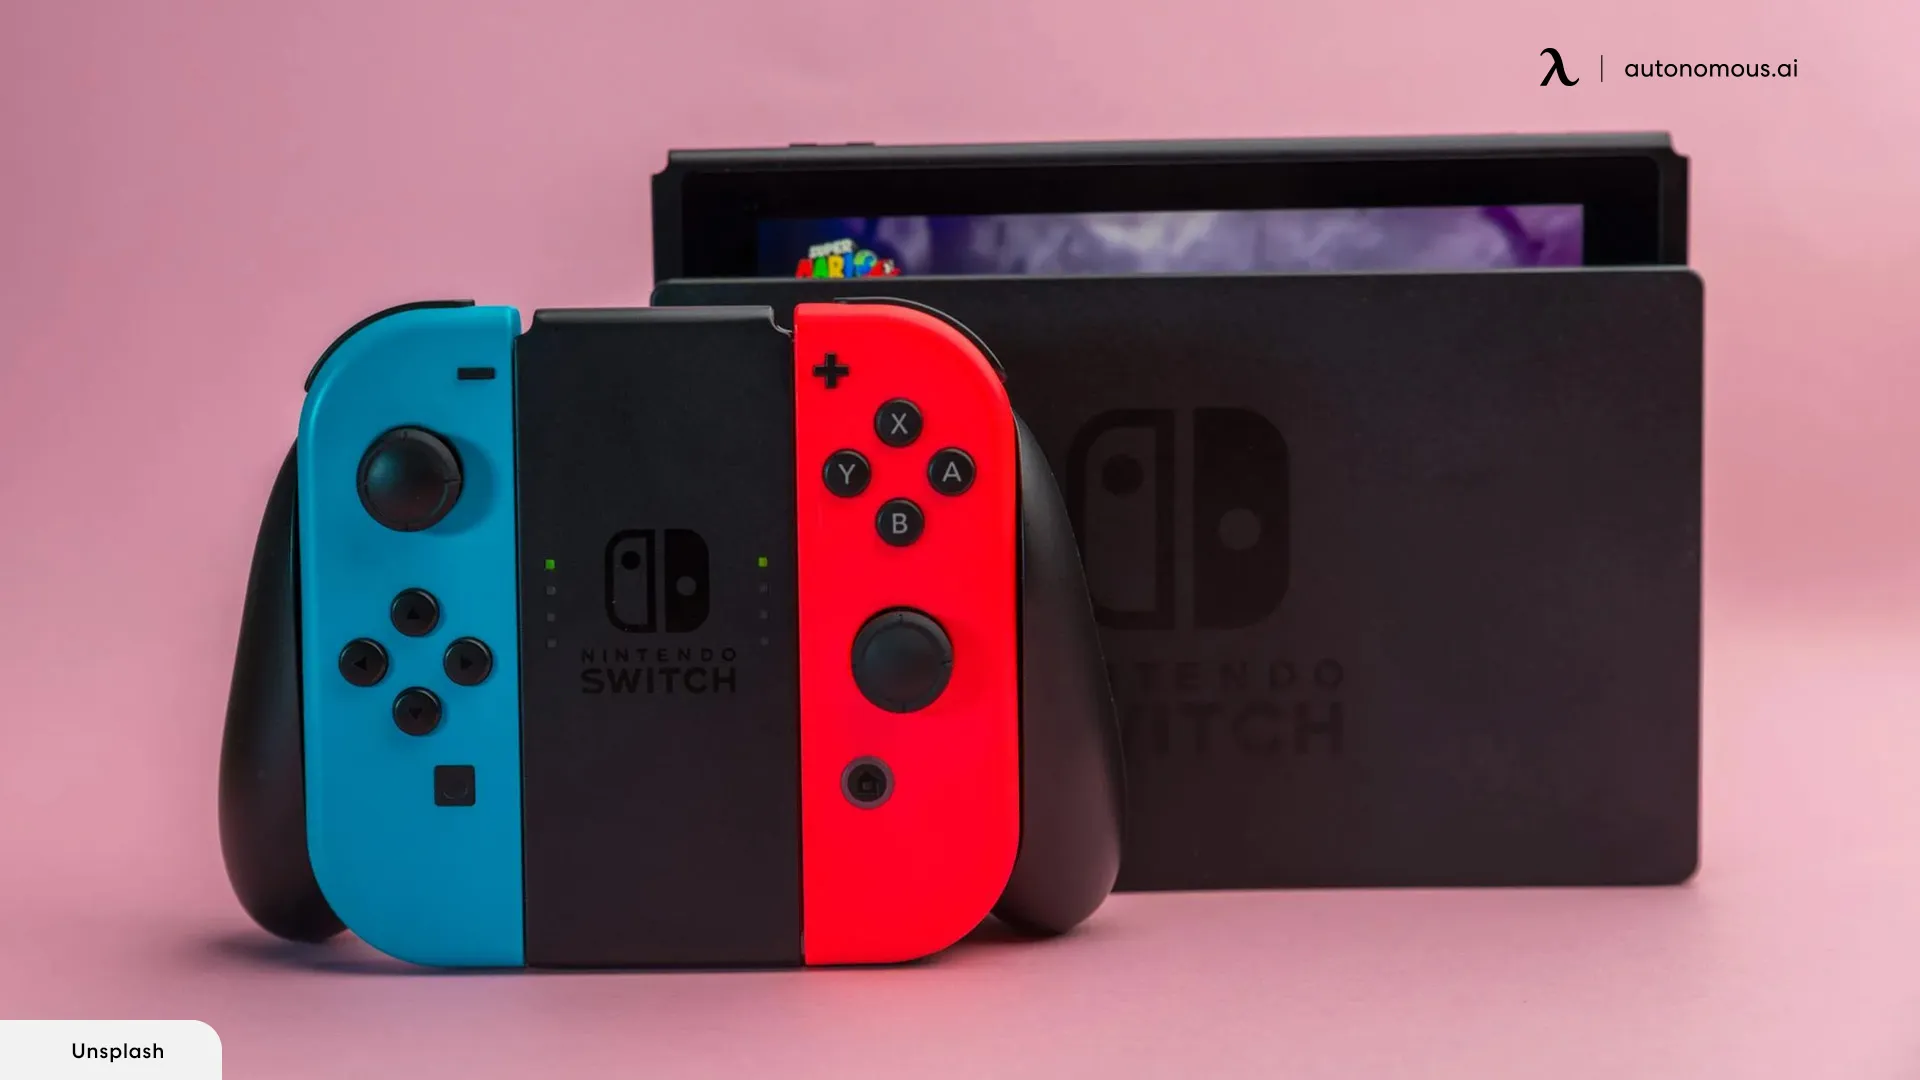
Step 2: Open the Back of Your Switch Dock
If you have the original or OLED versions, your Nintendo Switch will connect to your TV through the included dock using its HDMI out port.
Once you have the equipment and tools for this process, the next step is to pop open the dock’s rear door and find the HDMI out port. Just grab the device, place your finger beneath the panel, and pull.
The dock's back door will be on a hinge if you have the original console, while the Nintendo Switch OLED's panel pops off entirely.
Once opened, you’ll see the standard version’s I/O ports or a set of ports, including the “LAN,” port if you use the OLED console.
Step 3: Plug In Your HDMI and Other Required Cables to the Dock
As mentioned, both the original and the OLED versions output at a maximum 1080p resolution. So, you'll need a decent HDMI cable. These consoles often include a good quality one.
If you don't need a longer cord or a specific type of connector, use the HDMI cable included in your Nintendo Switch box and do the following:
- Plug one end of the cable into your Switch dock’s HDMI out port
- Connect other required cables, such as power and USB-C or LAN
- Close up the console’s rear door, keeping the connected cables routed out of the panel’s opening
Note: You don't need to plug in a LAN cable. The Nintendo Switch OLED enables users to use one to make their internet connection more stable. However, this console will work well over Wi-Fi.
Step 4: Connect the HDMI Cable to Your TV
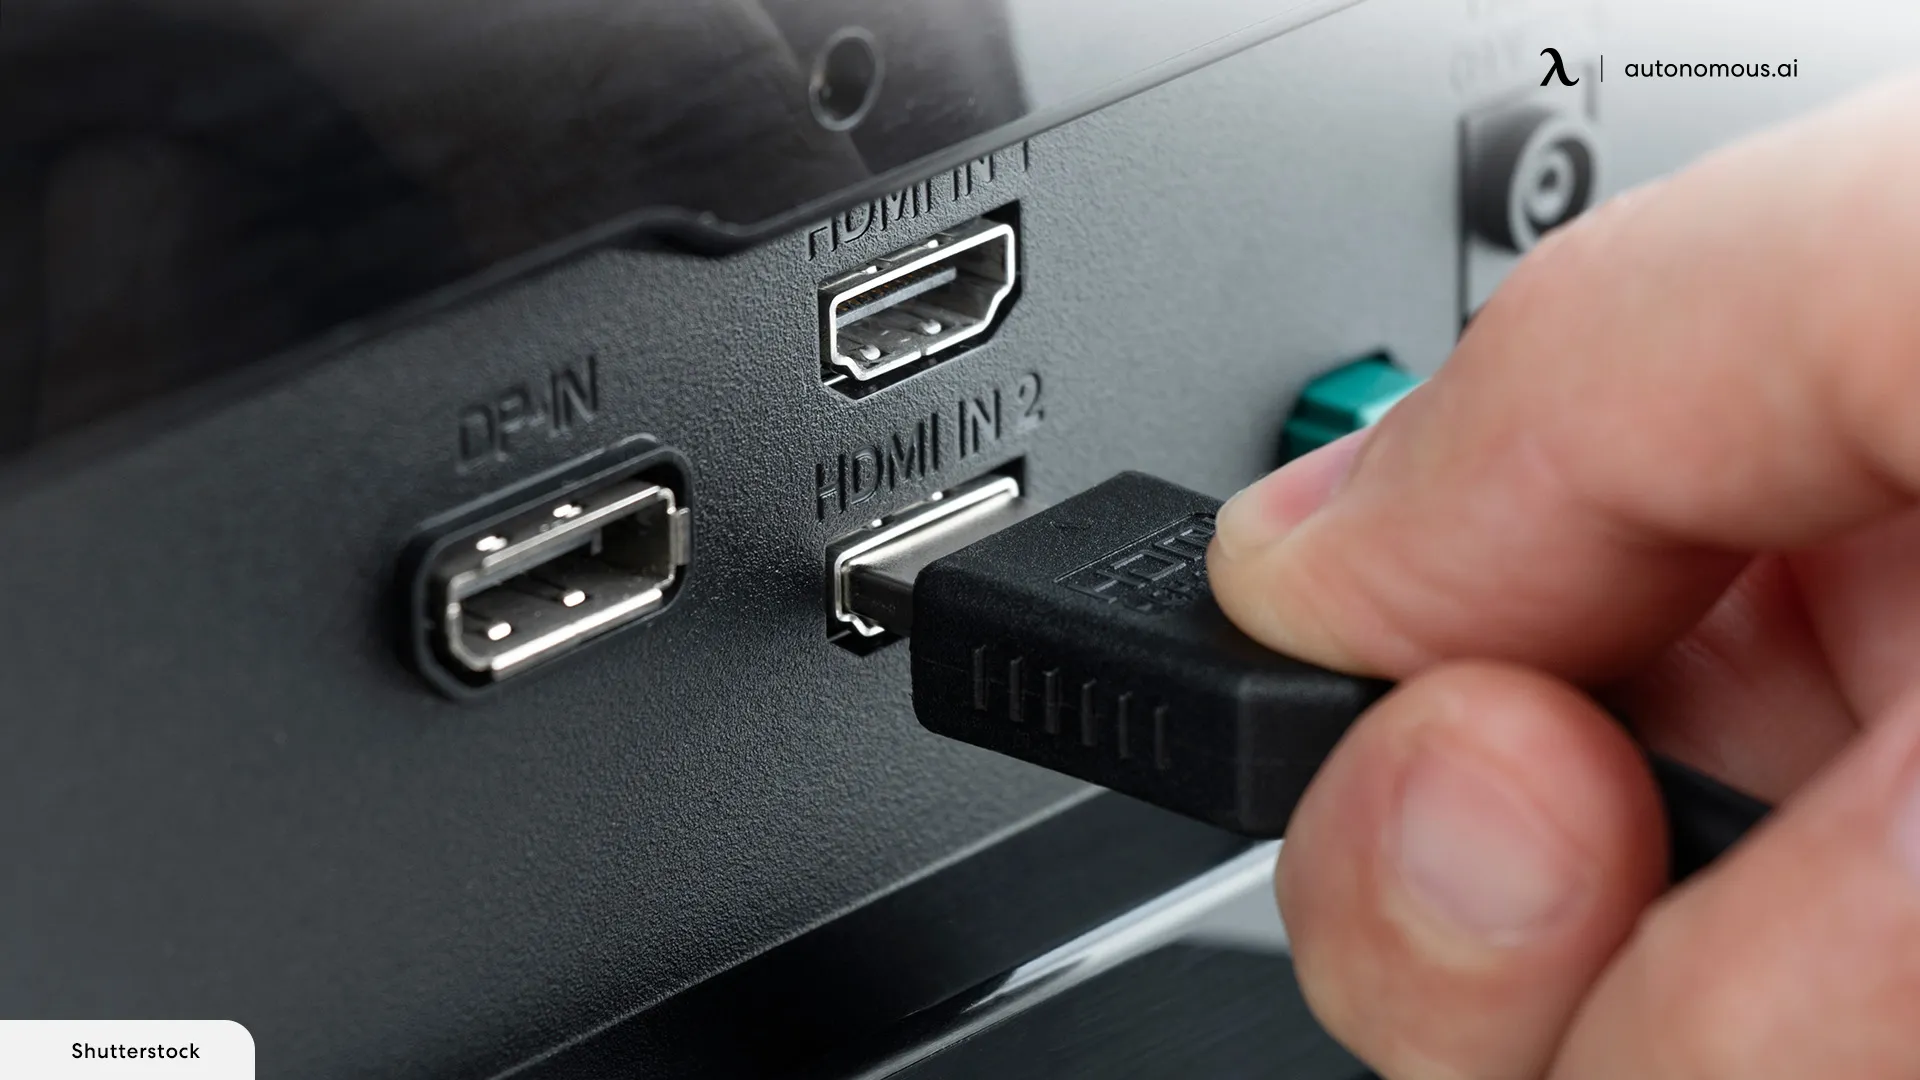
The next step in setting up your Nintendo Switch to a TV is to connect the other end of the HDMI cable to this device.
Locate the I/O panel of your TV, which is usually on the back or one of the sides. Once you find it, you'll see the unit's HDMI ports. These are often labeled as “HDMI In” or just “HDMI” and have numbers or codes that will help you adjust the settings later.
Choose an empty port and plug the free end of the HDMI cable (the one you already connected to the Switch dock) into that unused connector.
Step 5: Organize Your Cables and Equipment (Optional)
This step is completely optional but can help you keep your spaces clean and tidy, especially if you have a small and ultrawide gaming setup.
The notch on the side of your Nintendo Switch's dock will help you thread the cables. After placing the cover back over it, your setup will look neat.
For the best aesthetic results, you can stick the dock in a cabinet or on a TV stand. This is where cable management solutions may come in handy, too. Use any accessory that helps you create a comfortable, functional, and organized space.
Step 6: Put your Nintendo Switch in the Dock
When you looked for information on how to hook up your Nintendo Switch, did you think this process would be so easy? Well, you're almost done!
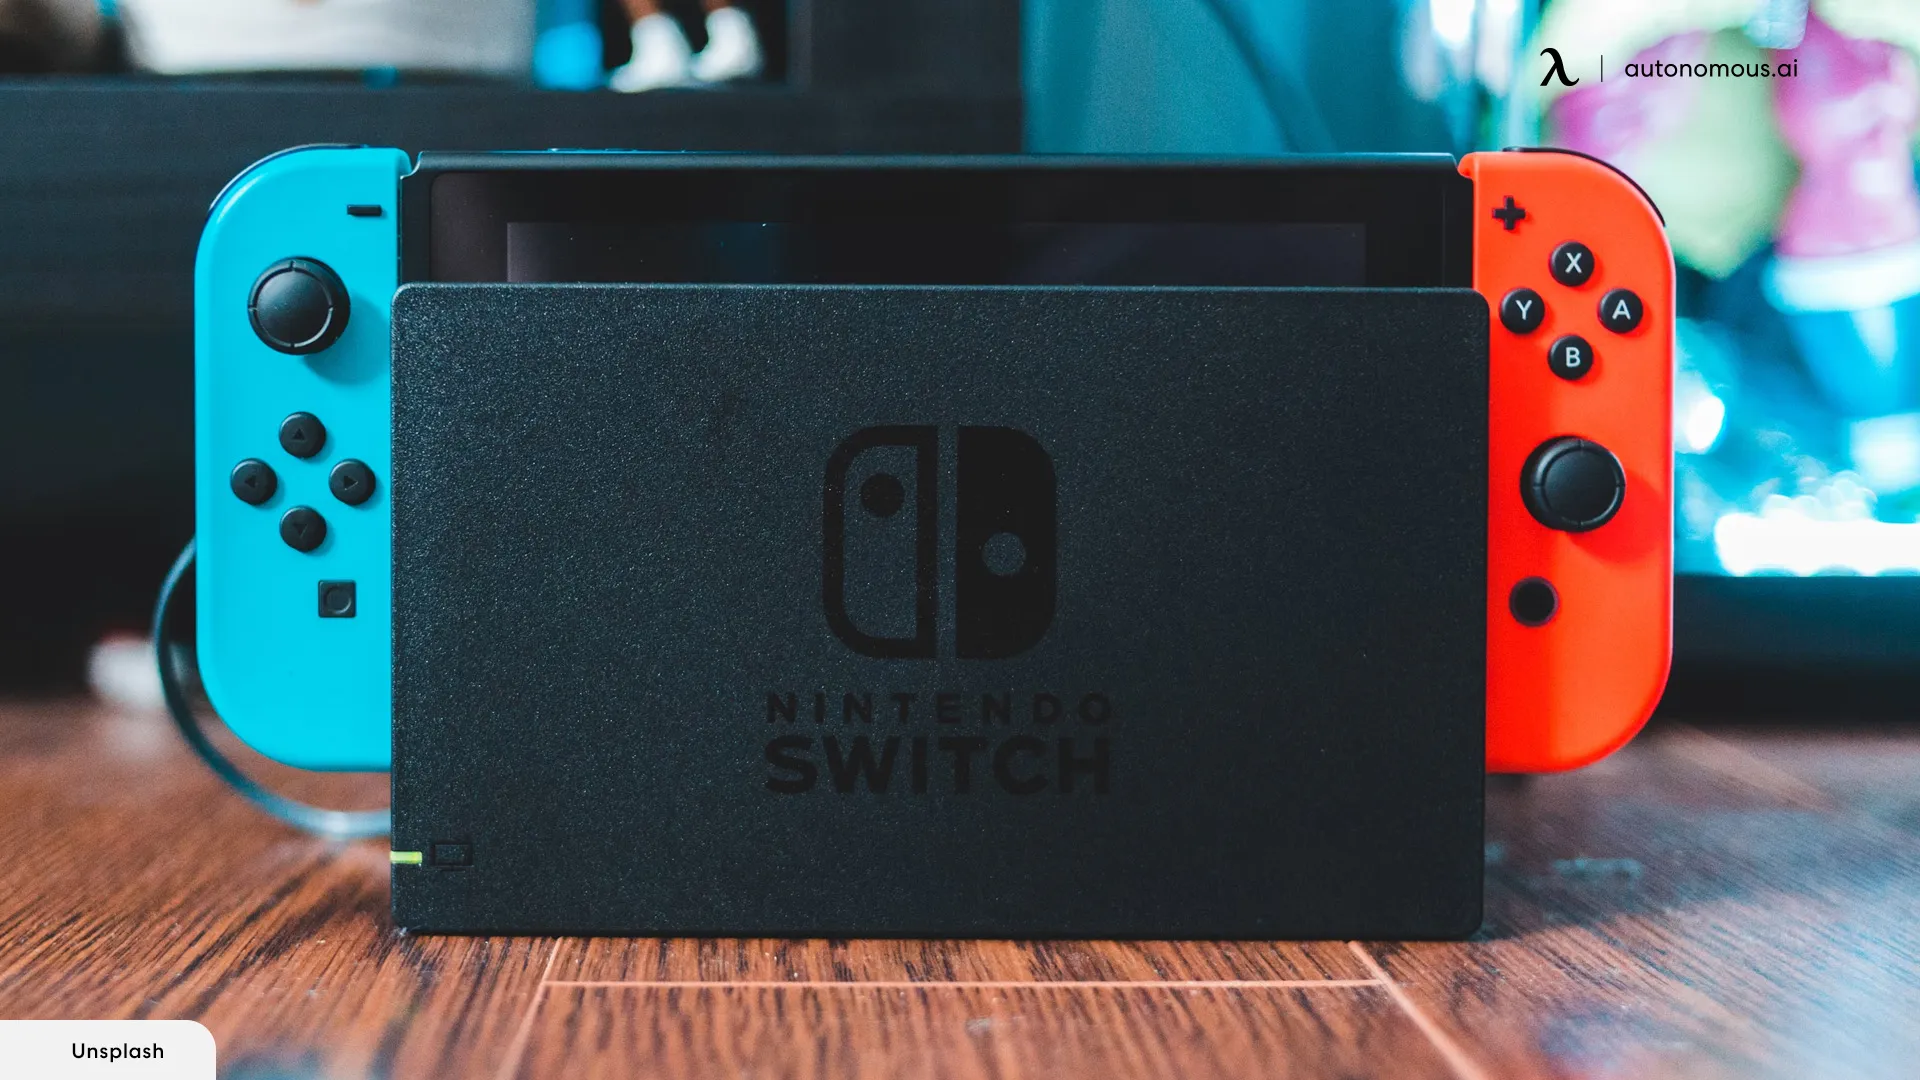
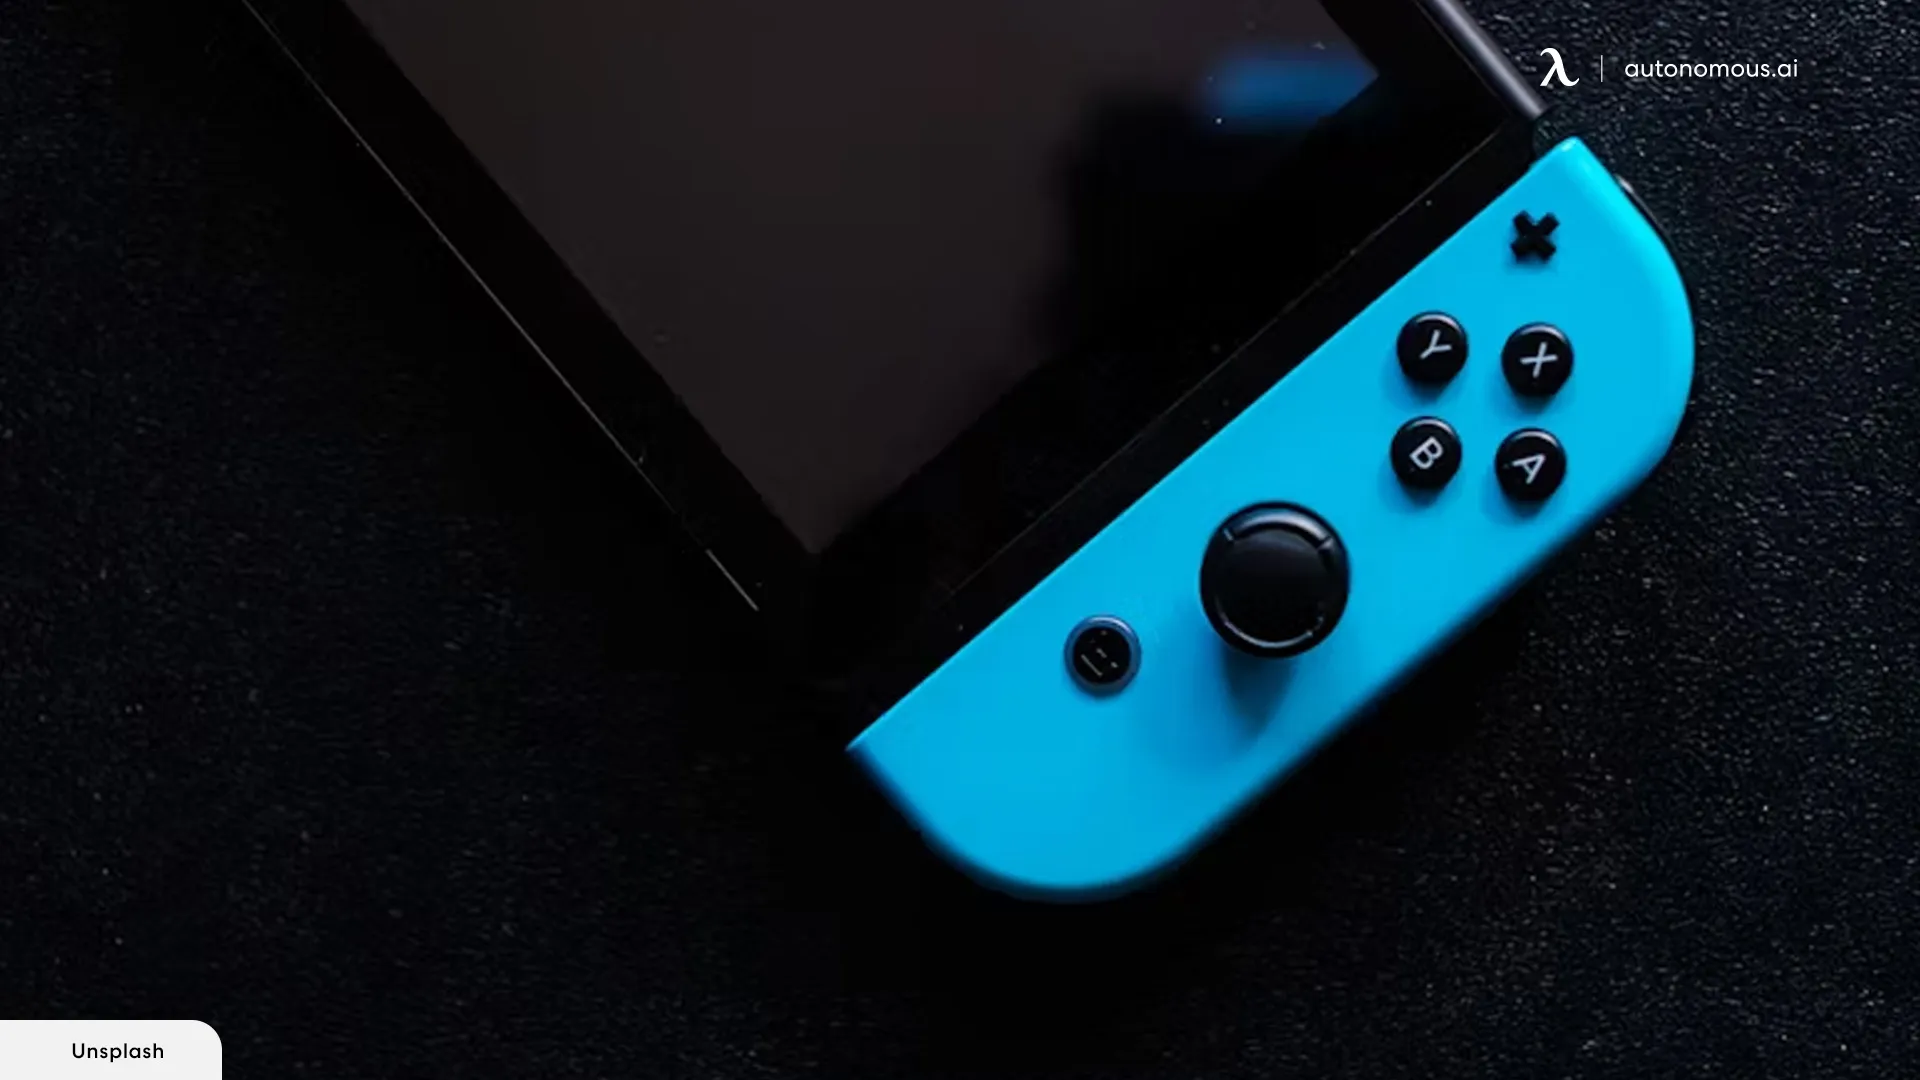
Once all the required cables are connected, and your setup is organized, slide your Nintendo Switch into the dock. Don’t forget to click your console into place.
To know if this system is working properly, see if there's a small charging indicator on the screen's sliver. This visual element pops up when the Nintendo Switch is docked.
Step 7: Adjust Settings
Is your console on? The next-to-last step in setting up your Nintendo Switch to your TV is to adjust the HDMI input channel on this device.
Once your TV is powered on, turn it on and go to the menu. Then, switch the input to match the HDMI port you connected the cable to. Consider the following example:
If you plug the cable into "HDMI 1," switch your TV's input to "HDMI 1," too.
Although it's similar in most cases, this process may vary from one device to another. However, more often than not, you just have to press the “Input” button on your remote control to switch between inputs.
Step 8: Start Playing Your Favorite Games!
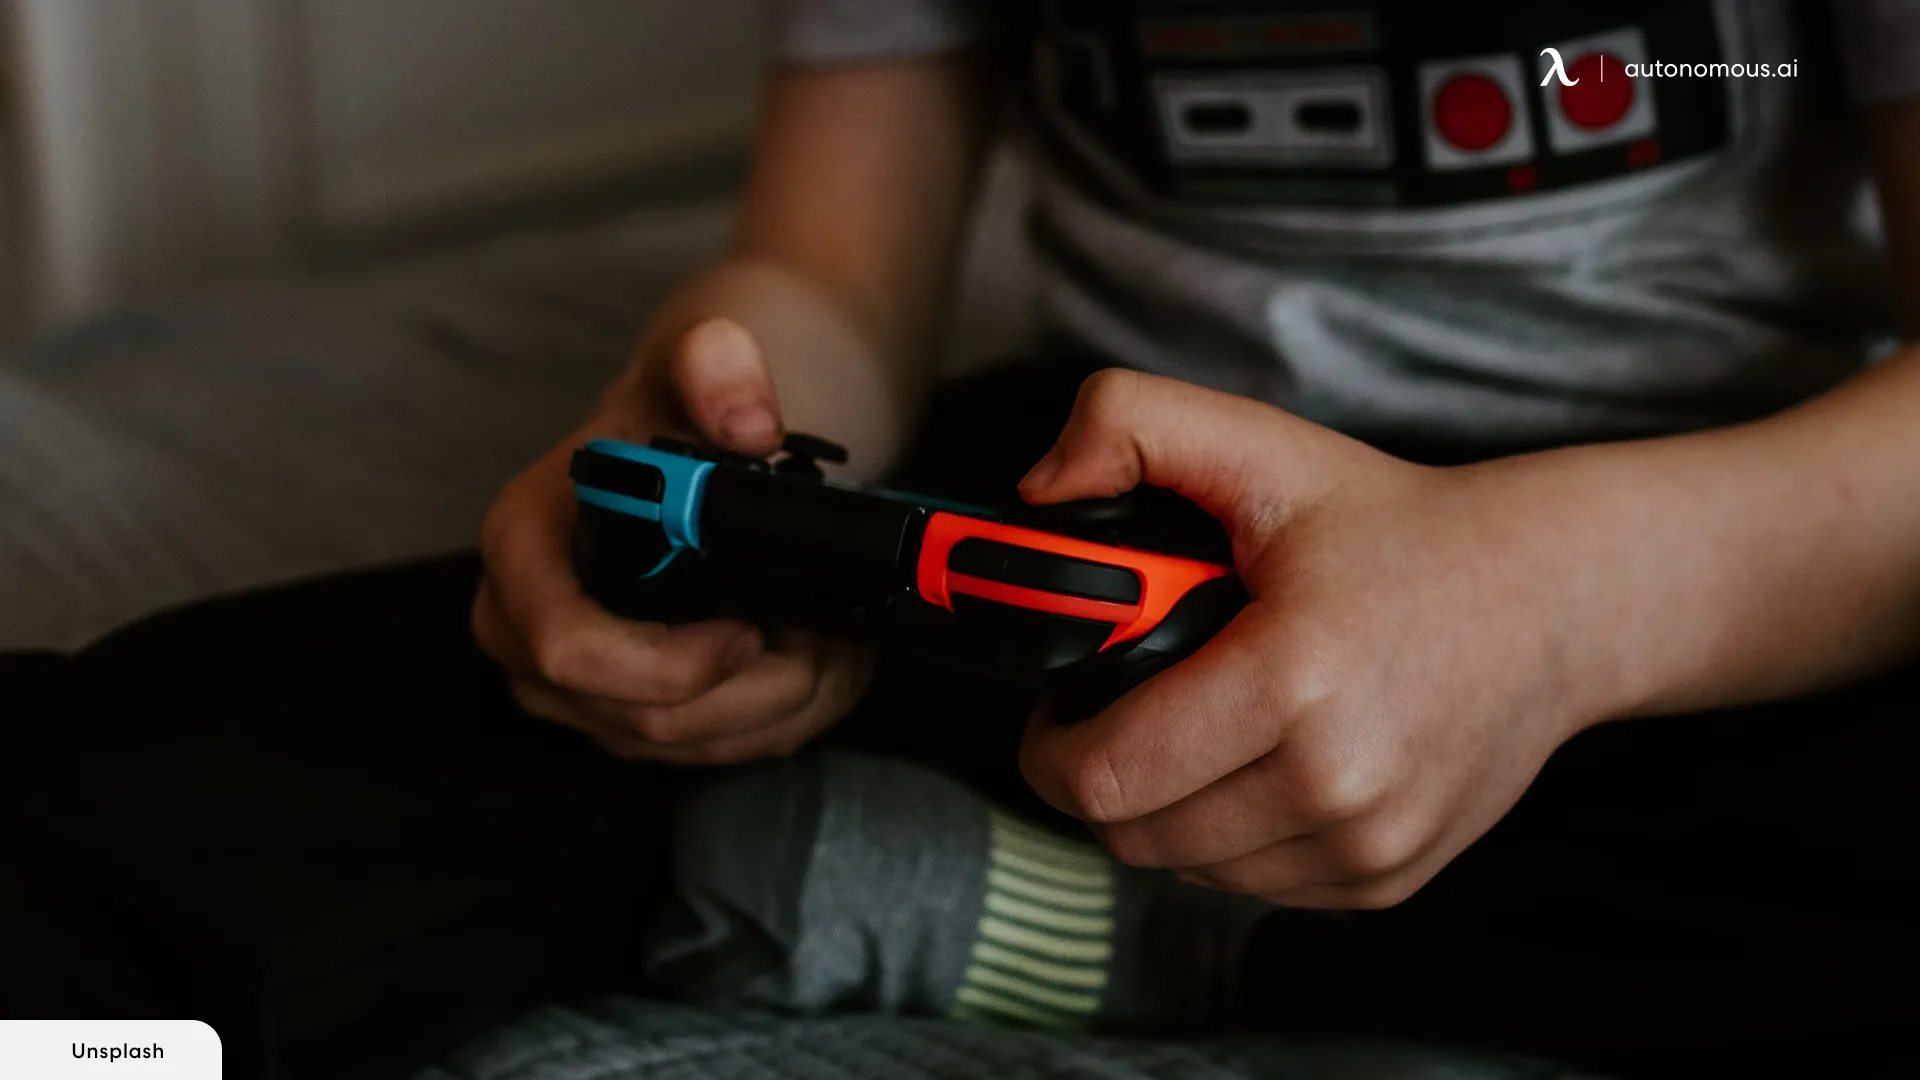
Finally, you just have to get your controllers ready to embark on the most exciting gaming adventures!
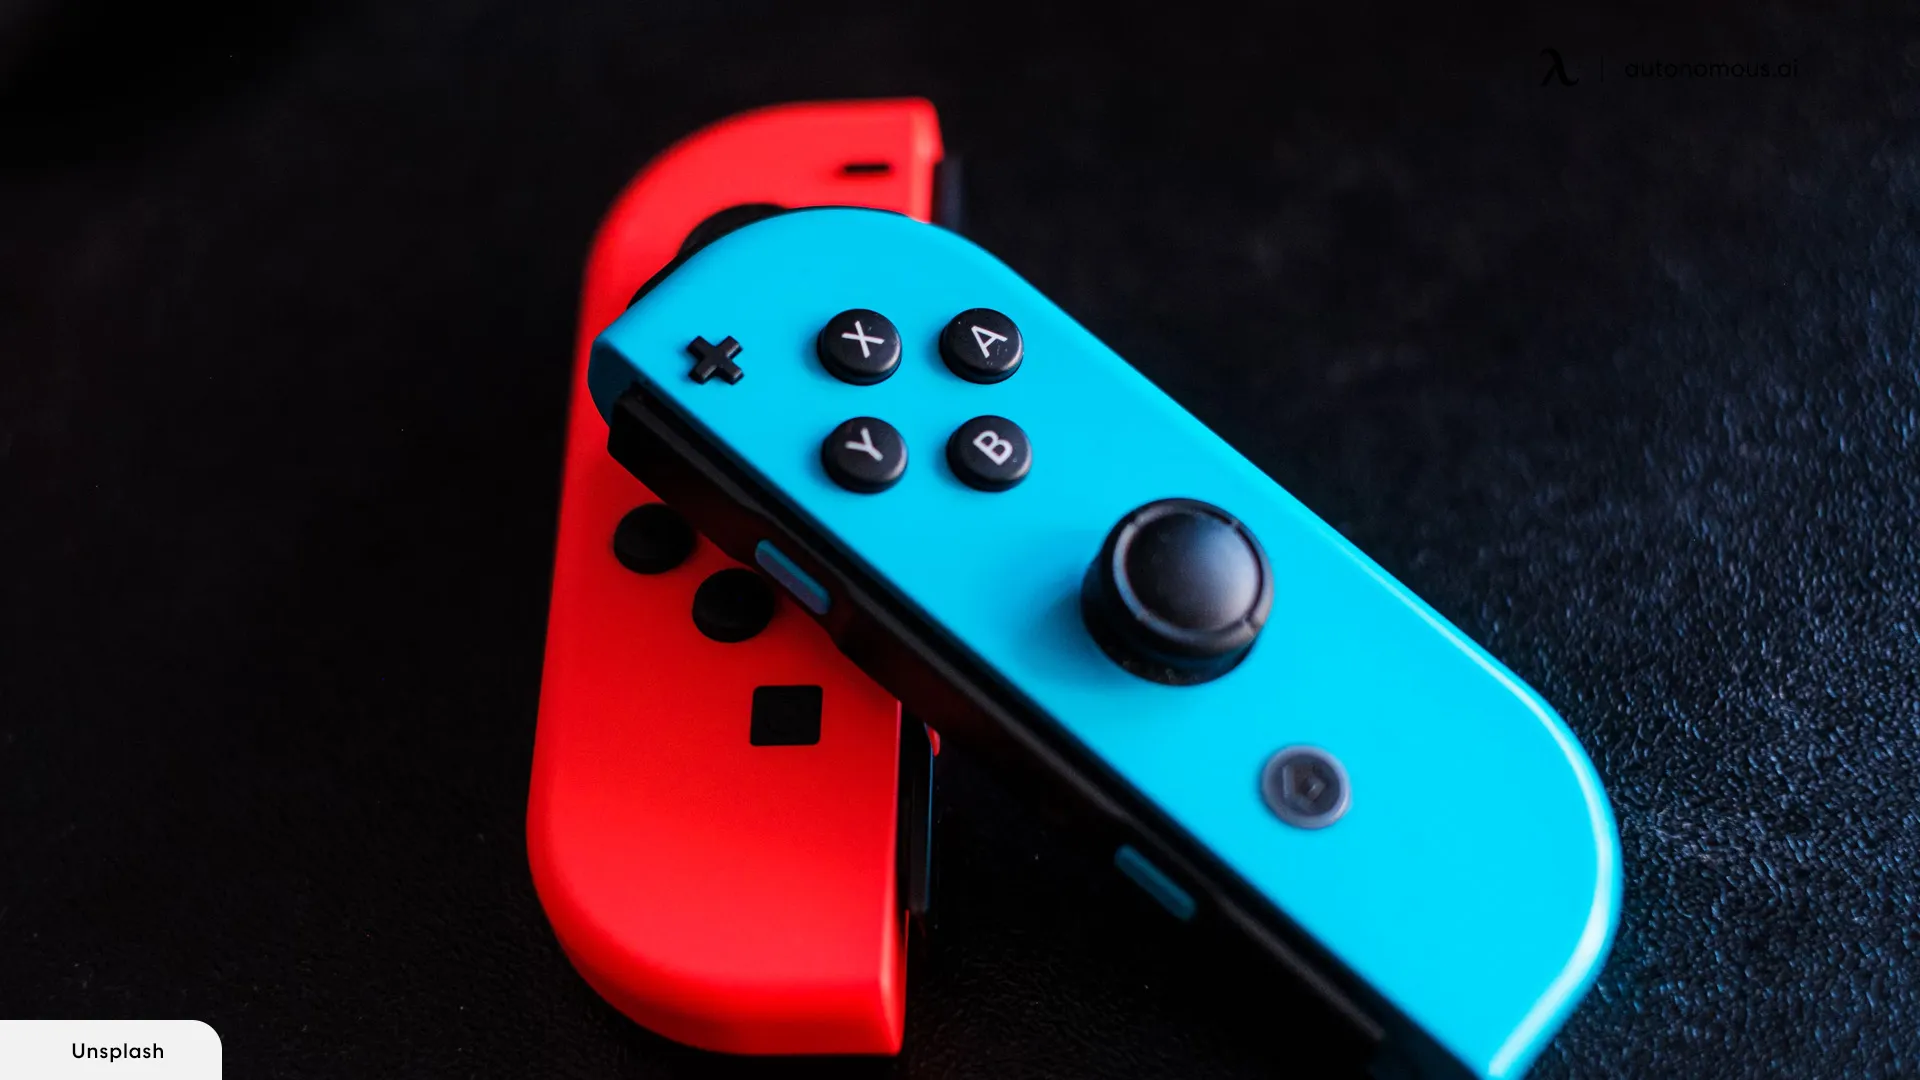
Remove the Joy-Cons from the side of your Nintendo Switch. After that, place them in a controller shell to start playing your favorite games.
How to Set Up a Nintendo Switch to a TV Without the Dock?
Do you want to connect your Nintendo Switch to your TV but don't have the dock people usually get with this console? Don't worry! You can still complete this process to enjoy an exceptional gaming experience on a larger, clearer screen.
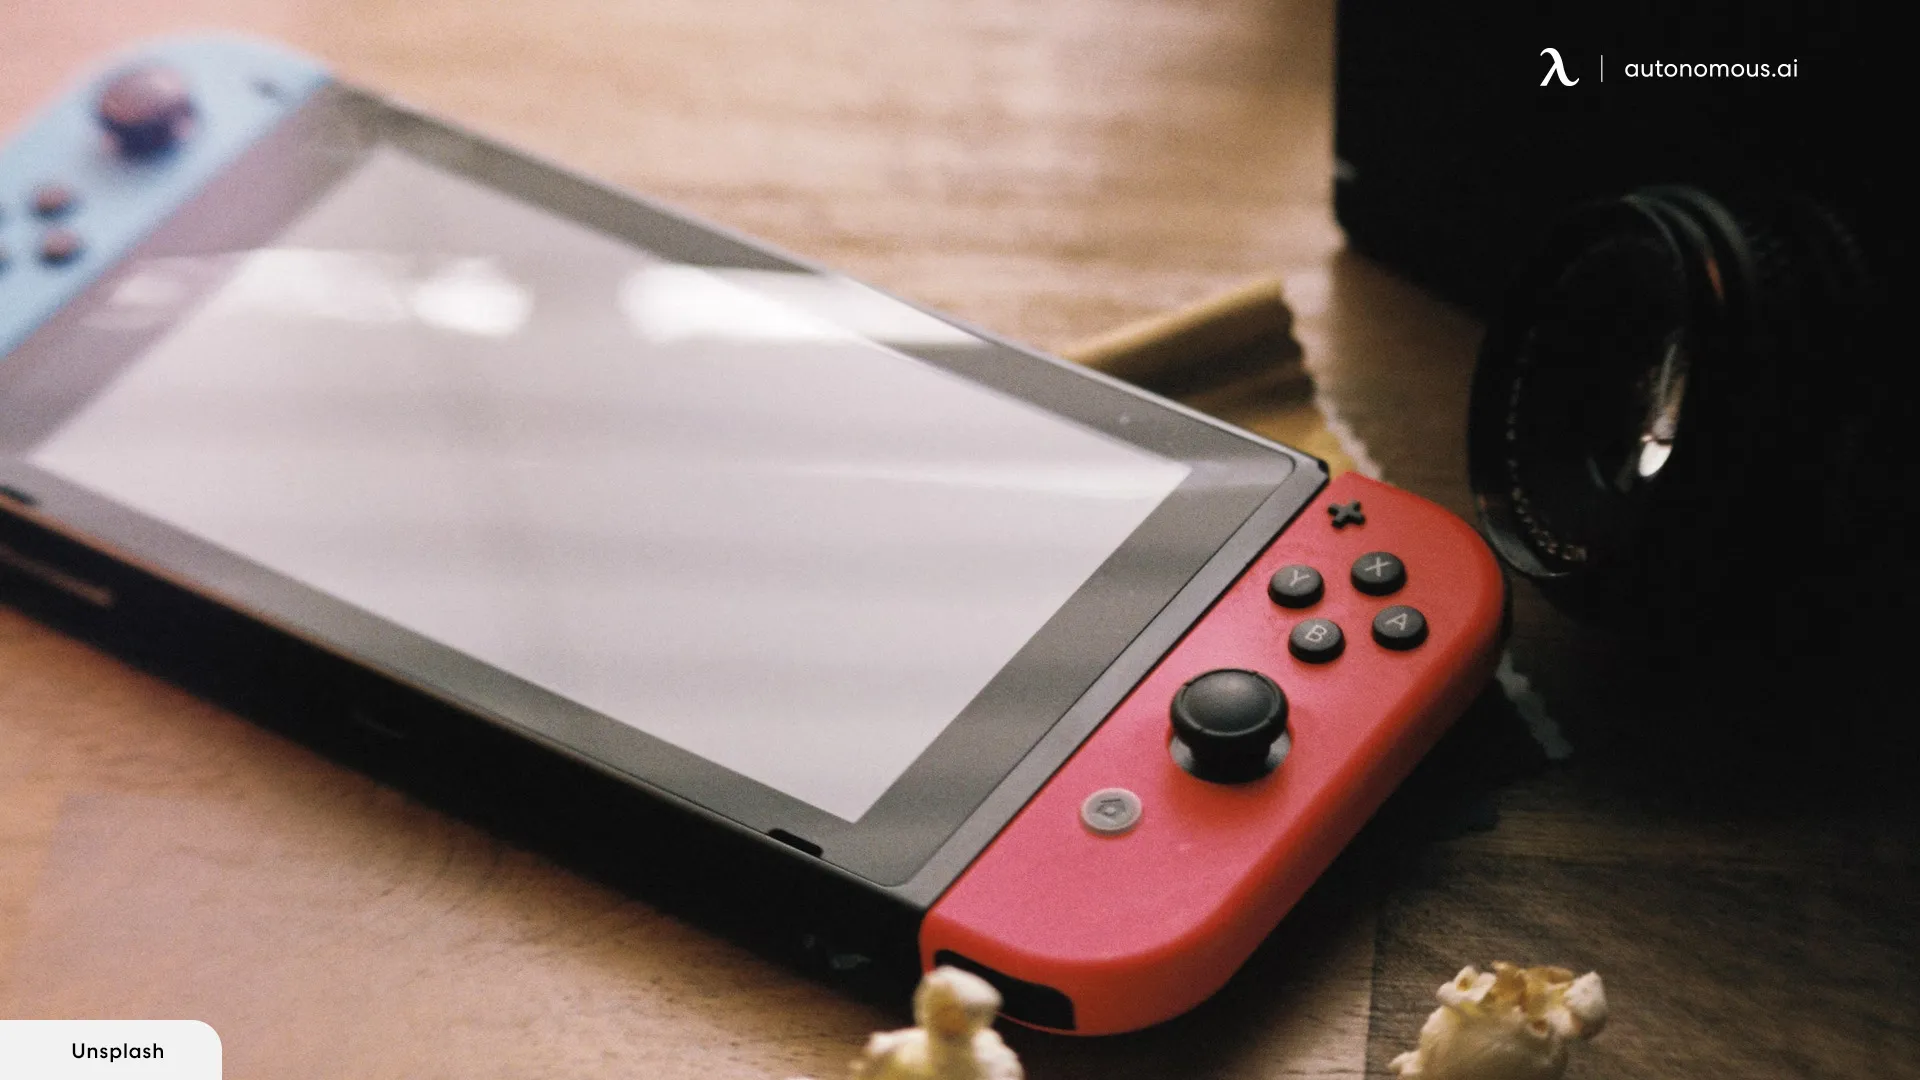
Just pick up a USB-C to HDMI adapter that connects to your Nintendo Switch, such as the one you've probably used for your laptop. You can also buy a travel-sized dock or a dongle that plugs into this console.
Whether you use a smaller dock, an adapter, or a dongle, remember to choose a model compatible with your Nintendo Switch.
Enjoy an Unparalleled Gaming Experience!
As mentioned, the innovative Nintendo Switch was designed to play both at home using your monitor or your TV or on the go. The best part? Switching from one mode to another is so easy and won't take more than a few minutes if you know how to handle the process.
Is this your first time setting up your Nintendo Switch to your TV? Fear not! If you follow the correct steps and consider the manufacturer's recommendations, you'll be playing your favorite games on a big screen very soon!
After completing this process, the only thing you need to do is customize this space to fit your style and help you beat your competitors on your next gaming adventures. Need help? Check out these Nintendo Switch gaming setup ideas for inspiration.
Frequently Asked Questions
Why is my Nintendo Switch not connecting to my TV?
If your Nintendo Switch isn't connecting to your TV, it's important to assess both devices to identify any issues. Follow these steps to try to fix them:
- Make sure all connections are secure by checking the console’s power cable and both ends of your HDMI cable.
- Verify that your Nintendo Switch is correctly docked and powered on.
- Go to your TV’s settings and ensure this device is set to the correct input according to the HDMI port you used.
Did you use these tips, but your Nintendo Switch isn't connecting to your TV yet? Try a different HDMI port or use another cable. If none of these components are faulty, consider other potential hardware problems that may affect your console or any other devices used during this process.
Can I connect my Switch to the TV without the included dock?
Yes, you can! As mentioned, you won't always need your dock to connect your Nintendo Switch to your TV. Instead, you can use a USB-C to HDMI adapter, a smaller or travel-sized dock, or a dongle that plugs into the console's USB-C port.
As long as the adapter you choose is compatible with your Nintendo Switch, you'll be able to connect this console to your TV in no time.
How do I connect my Nintendo Switch to my TV wirelessly?
If you're looking for information on how to connect your Nintendo to your TV wirelessly, you'll probably find some articles recommending gamers use a wireless HDMI adapter. However, this will be useless.
While you can use this device to set up your console to your TV, you'll still need to connect a dongle to your Nintendo Switch. In other words, it won't be a “wireless” setup.
Also, the Nintendo Switch doesn't support Apple's AirPlay, Google Cast, or other built-in casting technological solutions. If you want to enjoy a somewhat “wireless” gaming experience, you can use your disconnected Joy-Cons or other cordless controls while your console is seated on the dock.
Can I connect all Nintendo Switch versions to a TV?
Almost all versions of this console can be connected to a TV, except for the Nintendo Switch Lite, as it has been specifically designed for a handheld experience.
If you use the original or OLED model, your Nintendo Switch will support a TV or monitor connection. You just need to complete the steps described above.
Get exclusive rewards
for your first Autonomous blog subscription.
Spread the word
You May Also Like


-7512dd9e-3510-42ed-92df-b8d735ea14ce.svg)


